Picture this: it is a rainy Sunday afternoon, the kind that makes you want to curl up with a blanket and the scent of something warm wafting from the oven. I was chasing that exact coziness when I decided to tackle what I thought would be a simple loaf of Italian bread. Two collapsed loaves, one rock-hard crust, and a trash can full of flour later, I finally cracked the code on bakery-level, crusty Italian bread that shatters like thin ice when you tear into it. The aroma that drifted through my apartment was so intoxicating my neighbor knocked on the door asking if I had secretly opened a bistro. I dare you to taste this and not go back for seconds.
Most recipes get this completely wrong. They tell you to dump everything in a bowl, knead until bored, and pray to the yeast gods for a miracle. What you usually end up with is either a chewy brick or a loaf that tastes like supermarket fluff. I have been there, and I have the flour-dusted battle scars to prove it. This version is hands down the best you will ever make at home because we are going to treat the dough like a living, breathing thing, not a chemistry experiment gone wrong.
Here is the kicker: the secret weapon is a long, cool overnight rise in your fridge. While you are dreaming, the yeast is doing slow-motion push-ups, developing flavor compounds that no amount of sugar can fake. The next day, you will witness the dough blooming into something that looks like it belongs behind the counter of a Naples café. Stay with me here—this is worth it.
I will be honest—I ate half the batch before anyone else got to try it. The crust sang when it cooled, making that crackling sound that serious bread nerds call “the song of bread,” and the crumb was so airy it practically levitated off the cutting board. If you have ever struggled with bread, you are not alone—and I have got the fix. Let me walk you through every single step—by the end, you will wonder how you ever made it any other way.
What Makes This Version Stand Out
Shatter-Crunch Crust: We are cranking the oven to 475°F and baking on a pre-heated stone or inverted sheet pan. The blast of heat turns surface moisture into steam, creating that blistered, crackly shell you thought only professionals could achieve.
Overnight Cold Fermentation: While other loaves rush the rise, we park the dough in the fridge for at least twelve hours. The yeast works slowly, developing nutty, beer-like flavors that will make your kitchen smell like a trattoria at dawn.
Hydration Magic: This dough clocks in at seventy-eight percent hydration, meaning it is sticky and moist. That extra water converts to steam in the oven, puffing the loaf into glorious, irregular holes perfect for catching olive oil.
Minimal Knead Strategy: Forget the ten-minute arm workout. A quick mix and a series of gentle folds build gluten just as effectively, giving you a tender, open crumb without the sweat.
Herb-Ready Canvas: The base dough is neutral, so you can fold in fresh rosemary, cracked pepper, or even chopped olives without throwing off the structure. Think of it as your edible playground.
Crowd-Pleasing Size: One batch yields two rustic loaves, each perfect for a family dinner. Slice one for bruschetta, tear the other into chunks for saucy mop-ups—everyone leaves happy.
Make-Ahead Champion: Baked loaves freeze beautifully for up to a month. Rewarm from frozen at 375°F for ten minutes and you will swear it just came out of the oven. Future you will thank present you.
Inside the Ingredient List
The Flavor Base
Warm water is not just a suggestion; it is the ignition key for our yeast engine. Aim for 105°F—any hotter and you risk assassinating the yeast, any cooler and the poor things work in slow motion like bureaucrats on a Friday afternoon. Instant yeast is our little magic maker, speeding up the rising process without the fuss of proofing. No time to waste! Sugar is not here to sweeten the loaf but to give the yeast a quick snack so they can throw a fermentation party.
The Texture Crew
All-purpose flour strikes the perfect balance between chew and tenderness. Bread flour would make the crust too thick for our liking, while cake flour would collapse under its own weight. Salt is the unsung hero, enhancing flavor and strengthening the dough’s structure. Balance is key; forget it and your bread will taste like cardboard. Cornmeal or flour for dusting helps keep our bread from sticking and adds a rustic look to the bottom of the loaf, like a pair of well-worn leather boots.
The Unexpected Star
Fresh herbs are optional, but if you want to feel like a Tuscan nonna, chop a tablespoon of rosemary or thyme and fold it in during the second set of stretch-and-folds. The oils perfume the crumb, making every bite smell like you are picnicking in the hills above Florence. You could also swap in a teaspoon of cracked black pepper for a subtle, wine-friendly heat that pairs beautifully with sharp cheese.
Everything is prepped? Good. Let's get into the real action...
The Method — Step by Step
- In a large bowl, whisk together 500 grams of warm water, 7 grams of instant yeast, and 5 grams of sugar until the yeast dissolves and the mixture looks like a faintly beige snow globe. Picture yourself stirring up a lazy river that is about to become a bubbling jacuzzi of flavor. The yeast will wake up, burp out a little CO2, and start clapping its microscopic hands in anticipation. Cover the bowl with a plate and let it sit for five minutes; you should see faint froth forming like the head on a cappuccino. If nothing happens, your water was either too hot or your yeast has joined the great bakery in the sky—start over.
- Dump 650 grams of all-purpose flour straight into the yeasty pool, followed by 12 grams of salt. Using a sturdy spatula, fold the mixture by sliding the blade down the side of the bowl and lifting the wet dough over the dry flour like you are tucking in a blanket. Keep turning the bowl and repeating until you have a shaggy, hydrated mess that looks like wet cement. Resist the urge to add more flour; the stickiness is your ticket to an airy crumb. Cover with a damp tea towel and let it rest for twenty minutes so the flour can fully hydrate—think of it as a spa day for gluten.
- Perform your first set of stretch-and-folds: dip a clean hand in water (to prevent sticking), reach under the dough, grab a handful from the far side, and stretch it upward until you feel resistance, then fold it back over the center. Rotate the bowl a quarter turn and repeat three more times. The dough will still be loose, but you are aligning gluten strands like training vines up a trellis. Cover again and repeat this ballet every thirty minutes for a total of four sets. Okay, ready for the game-changer?
- After the final fold, cover the bowl with plastic wrap pressed directly against the surface to prevent a skin from forming. Park the whole thing in the refrigerator for at least twelve hours and up to twenty-four. During this cold slumber, the yeast ferments gently, creating lactic acid that gives the bread a subtle tang reminiscent of sourdough but without the week-long starter commitment. The next morning, the dough should have puffed like a sleepy cat stretching in the sun, dotted with tiny fermentation bubbles that look like champagne.
- Time to pre-shape. Dust your counter generously with flour and gently coax the cold dough out of the bowl using a plastic bench scraper. Divide it in half with decisive cuts—no sawing motions, just one confident slice so you do not deflate the precious bubbles. Shape each piece into a loose round by cupping your hands around the dough and dragging it across the counter to create surface tension. Think of tucking the edges underneath until the top feels smooth and taut like a drum. Let the rounds rest for fifteen minutes so the gluten can relax; otherwise, your final shaping will bounce back like a stubborn rubber band.
- Shape into batards (oval loaves) by patting each round into a rectangle, folding the top third down toward the center, then folding the bottom third up like a business letter. Seal the seam with the heel of your hand, flip the loaf seam-side down, and gently rock it back and forth to elongate. Transfer to a parchment-lined baking sheet dusted with cornmeal, seam-side down. Slide the sheet into a large plastic bag, inflate it like a balloon, and close with a clip—your DIY proofing box. Let the loaves rise at room temperature for one to one-and-a-half hours until they puff by about fifty percent. This next part? Pure magic.
- Meanwhile, place a baking stone or inverted heavy sheet pan on the middle rack of your oven and place a cast-iron pan on the lowest rack. Preheat the oven to 475°F for at least forty-five minutes; the stone needs to be nuclear-hot to deliver that explosive oven spring. Do not rush this—if the stone is not fully heated, the bottom of your bread will be pale and sad. The kitchen will start to smell like a pizzeria, and you will feel like you have been accepted into a secret society of crust fanatics.
- When the loaves are ready, they should feel filled with air like a marshmallow and show tiny blisters on the surface. Using a sharp razor blade, make three swift diagonal slashes about a quarter-inch deep; hold the blade at a thirty-degree angle so the cuts open like petals. This is the moment of truth. Slide the parchment with the loaves onto the hot stone, pour a cup of hot water into the cast-iron pan, and quickly close the door to trap the steam cloud. Bake for twenty-five minutes, then reduce the temperature to 425°F and bake another fifteen minutes until the crust is deep mahogany and the internal temperature hits 210°F.
- Cooling is not optional—this is the 5-minute rest that changes everything. Transfer the loaves to a wire rack and resist the siren call of tearing into them immediately. The crust is still setting, and the interior crumb is equalizing moisture so you do not end up with gummy tunnels. After at least forty-five minutes, the bread will sing its crackling symphony, and you can finally slice into a crust that shatters like thin ice, revealing an airy, cream-colored crumb with the irregular holes bakers call “the open cathedral.”
That's it—you did it. But hold on, I have got a few more tricks that will take this to another level...
Insider Tricks for Flawless Results
The Temperature Rule Nobody Follows
Buy an instant-read thermometer and treat it like your new best friend. Water at 105°F wakes yeast gently; dough that rises above 78°F during bulk fermentation can taste boozy. After baking, an internal loaf temp of 210°F guarantees a crumb that is set but not dried out. A friend tried skipping this step once—let's just say it ended up with a center that resembled pudding in a crust sarcophagus.
Why Your Nose Knows Best
During the cold ferment, sniff the dough each time you open the fridge. It should smell yeasty, slightly beer-like, and ever-so tangy—never like vinegar or gym socks. If it smells sharp or off, the yeast has exhausted its food and you need to bake sooner rather than later. Trust your olfactory instincts; they have been honed by thousands of years of humans avoiding spoiled food.
The 5-Minute Rest That Changes Everything
After shaping but before the final proof, let the dough bench rest for five minutes uncovered. This brief relaxation prevents the surface from tearing when you slash later, giving you those Instagram-worthy “ears” that rise proudly in the oven. It also allows micro-bubbles to redistribute, so your crumb is uniform instead of riddled with giant caves.
Steam Without the Spritz
Forget misting the oven walls and risking a shattered bulb. The cast-iron water trick creates a sustained steam environment for the first fifteen minutes, keeping the crust elastic so the loaf can expand. After that, the steam is gone, and the dry heat caramelizes sugars into that deep, nut-brown color that makes grown adults swoon.
Creative Twists and Variations
This recipe is a playground. Here are some of my favorite ways to switch things up:
Rosemary & Sea Salt Batard
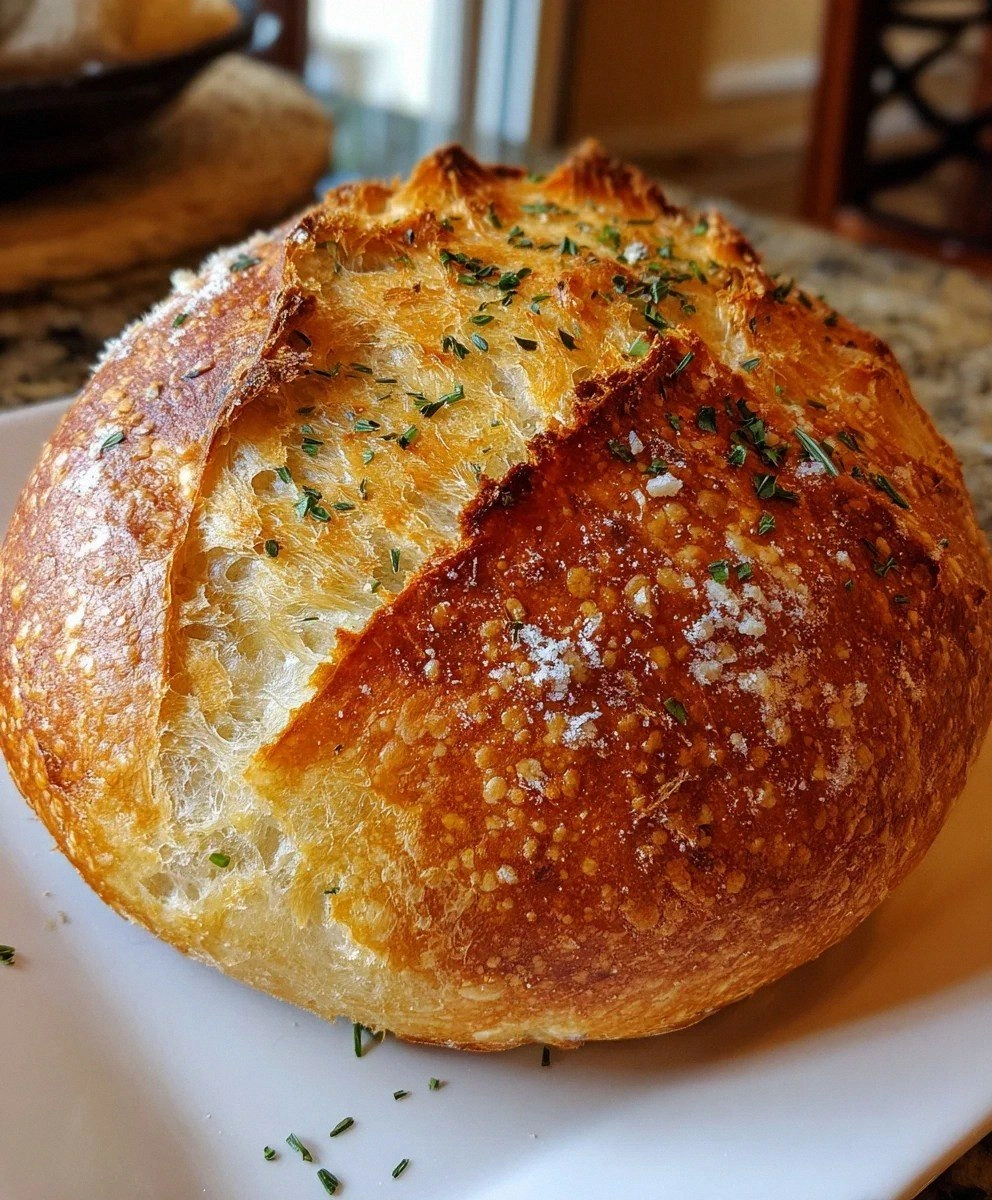
Fold two tablespoons of chopped fresh rosemary into the dough during the second stretch-and-fold. After slashing, sprinkle the top with flaky sea salt for a crust that tastes like focaccia had a glamorous older sibling. Serve alongside white bean stew and prepare for applause.
Black Pepper & Pecorino Swirl
Coarsely grind a teaspoon of black pepper and knead in 100 grams of grated Pecorino Romano at the end of mixing. The cheese melts into little umami pockets, and the pepper gives a subtle heat that blooms as the bread cools. Perfect for steak sandwiches or just tearing apart while standing at the counter.
Roasted Garlic & Herb Knots
Divide the batch into eight pieces, roll into ropes, and tie into simple knots. Roll each knot in a mixture of olive oil, roasted garlic paste, and oregano, then bake in a cast-iron skillet for pull-apart monkey bread vibes. These disappear faster than you can say “mangia.”
Chile & Lime Ciabatta-Style
Increase hydration to eighty-two percent, handle the dough like wet laundry, and bake as one large, flat loaf. Fold in a teaspoon of lime zest and a pinch of cayenne. The result is a fiery, aromatic bread ideal for pressed Cuban sandwiches or simply swiping through chili oil.
Sweet Raisin & Fennel Twist
For a breakfast version, soak 150 grams of raisins in hot water for ten minutes, drain, and fold them in along with two teaspoons of crushed fennel seeds. The licorice note pairs magically with butter and honey, turning your morning toast into a Sicilian pastry dream.
Everything Bagel Crust
Right before loading the loaf, brush the top with water and dredge in everything-bagel seasoning. The sesame, poppy, onion, and garlic toast into a crunchy jacket that transforms your Italian bread into a New York deli experience. Slice thin, toast, and cream-cheese accordingly.
Storing and Bringing It Back to Life
Fridge Storage
Never refrigerate baked bread—it accelerates staling by forcing moisture out of the starch. Instead, keep the cut loaf cut-side down on a wooden board for up to twenty-four hours. The crust will stay crisp and the crumb protected by its own protective heel.
Freezer Friendly
Wrap the cooled loaf tightly in two layers of plastic wrap, then slide into a zip-top bag with the air pressed out. Freeze for up to one month. To serve, unwrap and thaw at room temperature for two hours, then refresh in a 375°F oven for ten minutes. The crust will spring back to life like a just-baked loaf.
Best Reheating Method
Add a tiny splash of water to a hot skillet, nestle the sliced bread inside, and cover with a lid for thirty seconds. The gentle steam revives the crumb without turning the crust rubbery. Serve immediately with olive oil and pretend you are in a hillside trattoria watching the sun dip below the vineyards.