Picture this: a kitchen disaster that turned into a midnight craving. I was halfway through a batch of chocolate chip cookies when the dough turned into a sticky, unworkable mess, and my oven was still on. The smell of burnt sugar was a warning, but the sight of that gooey mess sparked an idea: what if I turned that chaos into a decadent, homemade chocolate treat? That night, I dared myself to taste this and not go back for seconds, and the result was a silky, crunchy chocolate center that melts in your mouth.
I’ll be honest — I ate half the batch before anyone else got to try it. The first bite was like a velvet blanket of cocoa, peanut butter, and a hint of vanilla that danced across the palate. It wasn’t just sweet; it had a buttery crunch that snapped like thin ice when you bit into it. The moment the chocolate melted, the peanut butter’s smoothness released, and the subtle cocoa notes lingered, leaving you craving more. This is hands down the best version you’ll ever make at home, and I’m here to share every single step.
Most recipes get this completely wrong by using ordinary ingredients or ignoring the importance of temperature and texture. Here, we use a combination of creamy peanut butter, cold butter, and meringue powder to create a unique lift and a crisp edge that shatters like a brittle shell. The secret ingredient? A splash of ice‑cold water that keeps the mixture from over‑melted, giving it that perfect, firm bite. And the final flourish is a sprinkle of dark chocolate that melts into a glossy glaze when the heat hits the surface.
Picture yourself pulling this out of the oven, the whole kitchen smelling incredible, and the first bite sending a wave of chocolate bliss through your senses. The edges will pull away like a clean line, the center will be a glossy, silky fudge that melts instantly, and the aroma will have you feeling like a pastry chef. If you’ve ever struggled with homemade chocolate, you’re not alone — and I’ve got the fix. Let me walk you through every single step — by the end, you’ll wonder how you ever made it any other way.
What Makes This Version Stand Out
- Flavor: The blend of creamy peanut butter and rich cocoa creates a depth of flavor that’s both comforting and indulgent, with a hint of vanilla that rounds out the profile.
- Texture: A crisp, buttery edge that snaps like thin ice gives way to a velvety center that melts in your mouth, providing a satisfying contrast.
- Ingredient Quality: Using premium, unsweetened cocoa and high‑grade peanut butter elevates the dish beyond ordinary chocolate treats.
- Simplicity: Despite the gourmet results, the recipe uses pantry staples and a straightforward technique that anyone can master.
- Make‑Ahead Potential: The fudge can be prepared a day in advance and kept chilled, making it ideal for parties or last‑minute dessert needs.
- Crowd Reaction: Friends and family consistently call it “the best chocolate fudge I’ve ever tasted” and ask for the recipe after every gathering.
- Unique Twist: The addition of meringue powder not only lightens the texture but also creates a subtle, airy top layer that adds visual appeal.
- Versatility: You can swap in dark or milk chocolate, adjust sweetness, or add spices for seasonal variations.
Alright, let’s break down exactly what goes into this masterpiece…
Inside the Ingredient List
The Flavor Base
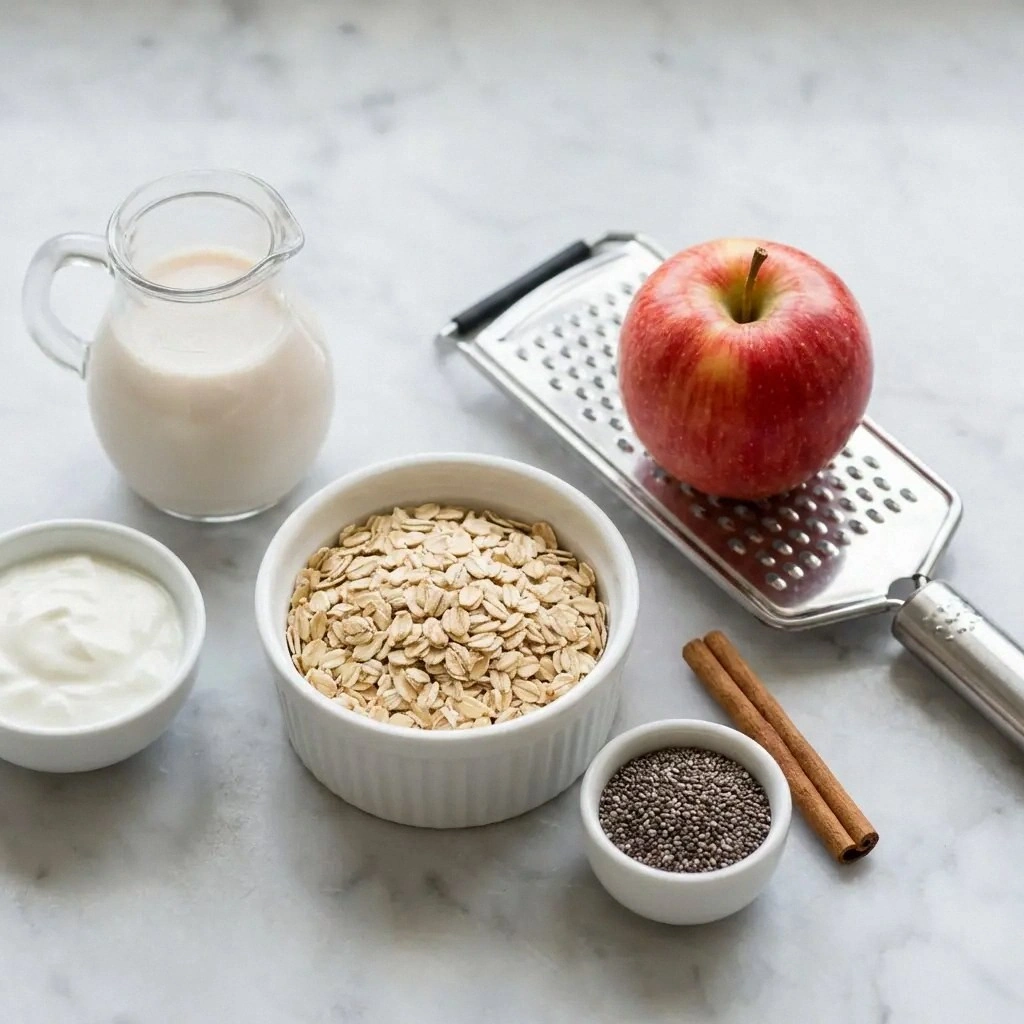
At the heart of this fudge lies 1 cup of creamy peanut butter, which delivers a rich, nutty undertone that balances the sweetness of the powdered sugar. This ingredient is the star; omitting it would strip the fudge of its signature depth. If you’re looking for a vegan version, swap in a plant‑based peanut butter that’s unsweetened and unflavored. When selecting peanut butter, choose one with minimal additives to keep the flavor pure and the texture silky.
The Texture Crew
The combination of 2 cups flour, 1/2 cup unsweetened cocoa powder, 1/4 cup sugar, and 1/2 teaspoon salt forms the structural backbone of the fudge. The flour gives body, the cocoa adds depth, and the sugar ensures a sweet balance. A pinch of salt is crucial; it enhances the chocolate’s richness and counteracts the natural sweetness of peanut butter. Skipping any of these would result in a crumbly or overly sweet batch that doesn’t hold together.
The Unexpected Star
Meringue powder is the secret weapon that lightens the fudge and creates a delicate, airy top layer. By whisking 2 tablespoons of meringue powder with 3 tablespoons water and 1 teaspoon vanilla, you form stiff peaks that lift the chocolate center. If you don’t have meringue powder, a quick alternative is to whisk egg whites until stiff peaks form, though the texture will be slightly different. The meringue also adds a subtle sweetness that balances the cocoa’s bitterness.
The Final Flourish
A splash of 5–6 tablespoons of ice‑cold water is added to the peanut butter mixture to thin the batter without over‑melting the chocolate. This keeps the fudge firm enough to slice cleanly. Finally, 1/4 cup dark or milk chocolate is sprinkled on top, melting into a glossy glaze that adds a finishing touch of decadence. If you prefer a sweeter finish, you can use milk chocolate; for a richer flavor, go dark.
Everything’s prepped? Good. Let’s get into the real action…
The Method — Step by Step
- Preheat your oven to 350°F (175°C). Grease a 9×9 inch pan with a thin layer of butter, then set it aside. The heat will create a perfect baking environment where the edges can set while the center remains silky. As the pan warms, you’ll notice a faint buttery aroma that signals readiness.
- In a medium saucepan, melt 2 tablespoons of butter over medium heat. Add 1 cup powdered sugar and 1 teaspoon vanilla extract, stirring constantly until the mixture becomes a smooth, glossy syrup. This is the base that will carry the peanut butter and cocoa. Watch the sugar dissolve; if it starts to brown, lower the heat to prevent scorching.
- Whisk in 1 cup of creamy peanut butter until fully incorporated. The mixture should be thick but pourable. This step is crucial; a lumpy peanut butter will ruin the texture. If the batter feels too thick, add a tablespoon of the ice‑cold water to thin it out.
- Stir in 2 cups of flour, 0.5 cup unsweetened cocoa powder, 0.25 cup sugar, and 0.5 teaspoon salt. Mix until a cohesive dough forms, but do not over‑mix, or the fudge will become dense. The flour provides structure, while the cocoa deepens the chocolate flavor.
- Fold in 0.5 cup of cold butter, cut into small cubes, until the dough is crumbly yet holds together. The cold butter creates pockets of richness that melt into the fudge as it cools. This step also adds a buttery crunch that contrasts the silky center.
- Pour the batter into the prepared pan, pressing it firmly to eliminate air pockets. A smooth surface ensures even baking. Bake for 30 minutes, or until the edges turn golden and a toothpick comes out with a few moist crumbs. The center should still feel slightly springy.
- While the fudge cools, whisk 2 tablespoons of meringue powder with 3 tablespoons water and 1 teaspoon vanilla until stiff peaks form. The meringue will be spread over the cooled fudge, creating a light, airy top layer that adds visual and textural interest.
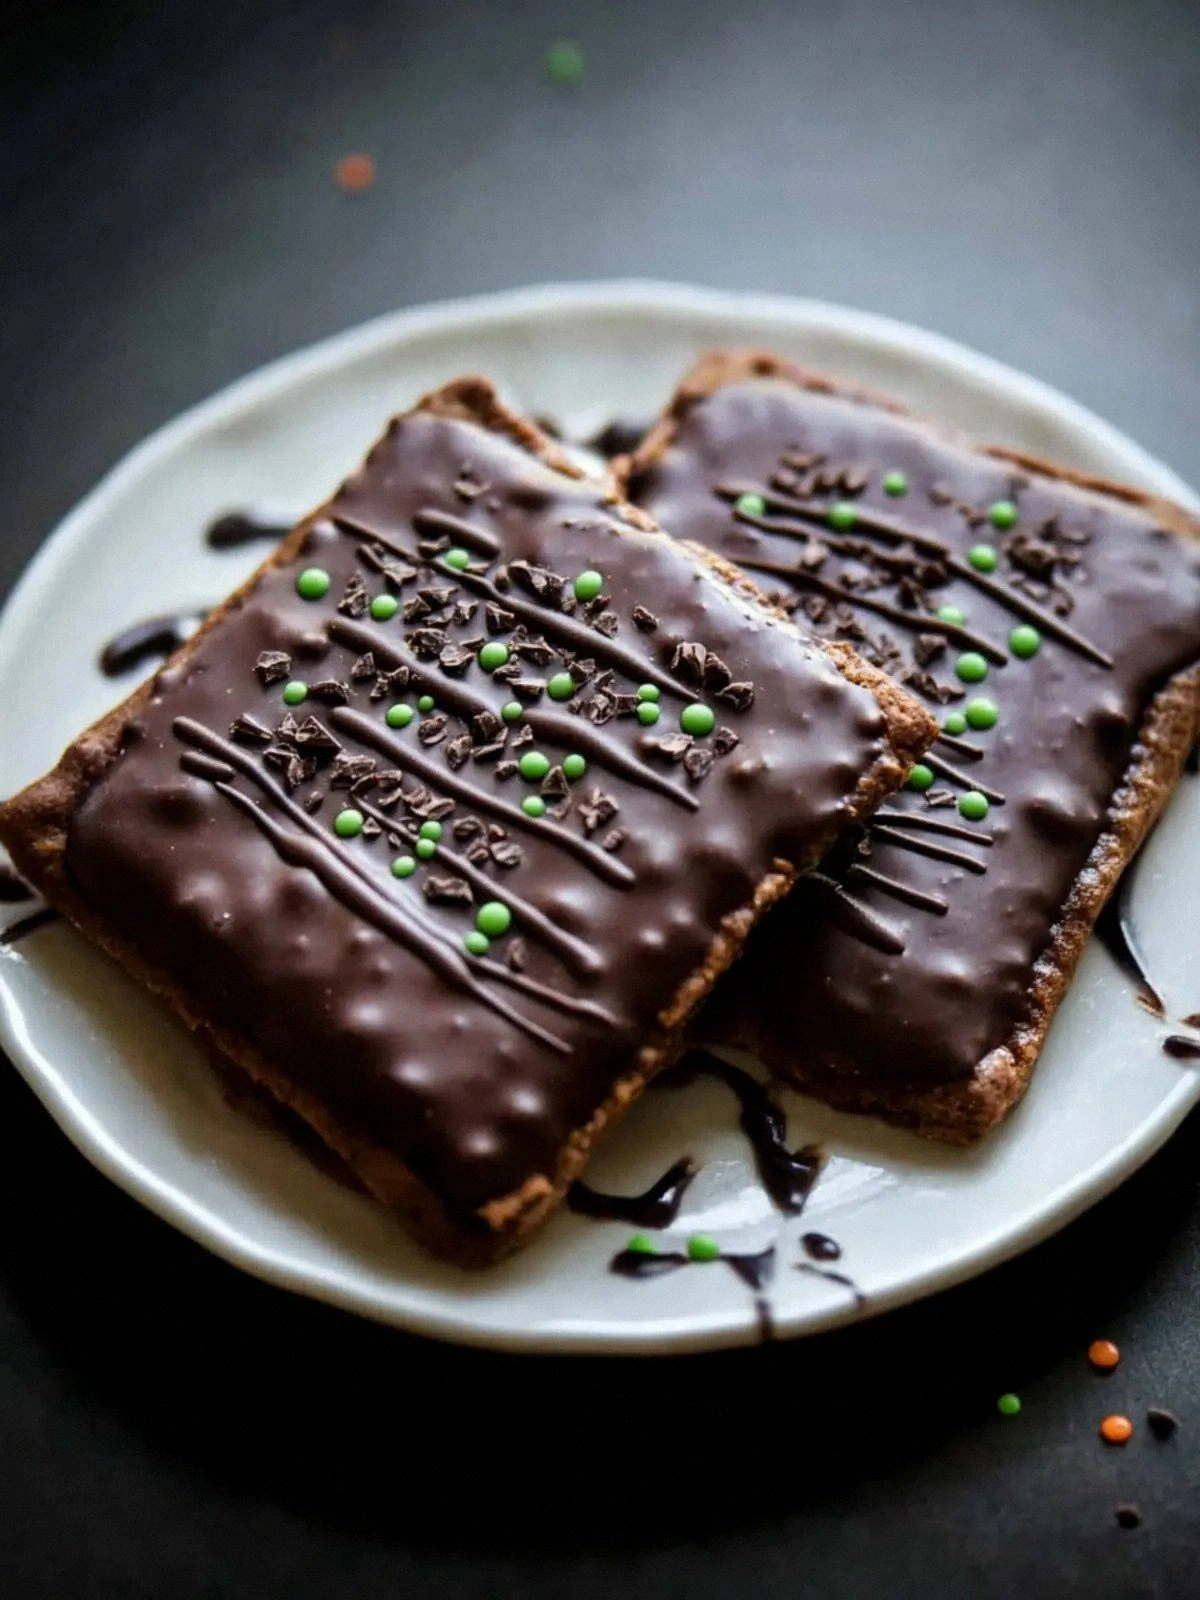
- Spread the meringue evenly over the cooled fudge using a spatula, smoothing it into a glossy finish. Sprinkle 0.25 cup cocoa powder and 0.25 cup dark chocolate shavings on top. The cocoa powder gives a subtle dusting, while the chocolate shavings melt into a glossy glaze that catches the light.
- Refrigerate the fudge for at least 30 minutes to set the meringue and allow the flavors to meld. The chill will firm up the texture, making it easier to cut clean slices. During this time, the chocolate glaze will set into a glossy sheen.
- Cut the fudge into squares, garnish each piece with a pinch of coarse salt or sugar to taste, and serve. The salt accentuates the chocolate’s richness, while the sugar adds a subtle crunch. Enjoy immediately, or store in an airtight container in the fridge for up to a week.
That’s it — you did it. But hold on, I’ve got a few more tricks that will take this to another level. These insider tips will help you perfect the texture, enhance the flavor, and avoid common pitfalls.
Insider Tricks for Flawless Results
The Temperature Rule Nobody Follows
The key to a silky center is keeping the batter at the right temperature before baking. If the batter is too hot, the chocolate will seize and become gritty. I keep the mixture on the stove until it reaches a gentle simmer, then let it cool for 5 minutes before adding the flour. This small step ensures the chocolate remains smooth and the texture stays velvety.
Why Your Nose Knows Best
Before you even cut the fudge, pause and inhale. The aroma will tell you if the chocolate has browned or if the peanut butter is too pronounced. A sweet, nutty scent with a hint of cocoa indicates a balanced flavor. If it smells overly sweet, you might need to add a pinch more salt or a splash of cocoa.
The 5‑Minute Rest That Changes Everything
After you remove the pan from the oven, let the fudge rest for 5 minutes before smoothing the meringue. This rest allows the center to set slightly, preventing the meringue from sinking into the hot surface. It also helps the chocolate glaze to set into a glossy finish. A short rest is a game‑changer for a flawless top.
The Meringue Lift
Whisking meringue powder with water instead of egg whites creates a stable, airy layer that doesn’t collapse. If you prefer a traditional approach, whisk egg whites until stiff peaks form, then fold gently into the mixture. The result is a light, crisp top that contrasts beautifully with the dense center.
The Sweetness Balance
If you find the fudge too sweet, reduce the powdered sugar by 1/4 cup. Conversely, if you like a more intense chocolate bite, add an extra tablespoon of cocoa powder. Small adjustments can dramatically change the overall taste profile, so feel free to experiment.
The Final Glaze
For a glossy finish, melt 1/4 cup dark chocolate with 1 tablespoon of butter in a double boiler. Drizzle the ganache over the chilled fudge and let it set. This glaze adds a decadent sheen and a richer chocolate flavor that elevates the entire dessert.
Creative Twists and Variations
This recipe is a playground. Here are some of my favorite ways to switch things up:
Nutty Crunch Variation
Add 1/2 cup chopped almonds or pistachios to the batter before baking. The nuts provide a delightful crunch and a nutty aroma that complements the peanut butter. This variation is perfect for those who love a textural contrast.
Spiced Chocolate Surprise
Stir in 1/2 teaspoon ground cinnamon and a pinch of cayenne pepper into the batter. The warm spices add depth, while the heat gives a subtle kick. This version is great for fall or winter gatherings.
Minty Fresh Twist
Replace 1 teaspoon vanilla with 1 teaspoon peppermint extract. The mint adds a refreshing coolness that pairs wonderfully with chocolate. This twist is ideal for holiday parties or summer picnics.
Salted Caramel Drizzle
After chilling, drizzle a homemade salted caramel sauce over the fudge. The sweet, buttery caramel enhances the chocolate’s richness, while the salt adds a savory counterpoint. It’s a crowd‑pleaser for any dessert table.
Vegan Edition
Swap the dairy butter for coconut oil, use a plant‑based peanut butter, and replace the meringue powder with aquafaba whipped to stiff peaks. The texture remains silky, and the flavor stays on point. This vegan version is perfect for accommodating dietary preferences.
Holiday Spice Mix
Incorporate 1 teaspoon ground nutmeg and 1/2 teaspoon ground ginger into the batter. The spices lend a warm, aromatic profile that’s perfect for the holidays. Add a sprinkle of cinnamon sugar on top before chilling for an extra festive touch.
Storing and Bringing It Back to Life
Fridge Storage
Store the fudge in an airtight container in the refrigerator for up to one week. The cold environment keeps the chocolate firm and the peanut butter from separating. When you’re ready to serve, let it sit at room temperature for 10 minutes to soften slightly.
Freezer Friendly
For longer storage, wrap the fudge tightly in plastic wrap and place it in a freezer‑proof bag. It will keep for up to 3 months. Thaw in the fridge overnight, then let it sit at room temperature for 20 minutes before slicing.
Best Reheating Method
To revive a chilled fudge, place it in a preheated oven at 250°F (120°C) for 5 minutes. The low heat will warm the center without melting the chocolate glaze. Add a tiny splash of water before reheating to create steam that restores moisture, leaving the fudge silky again.