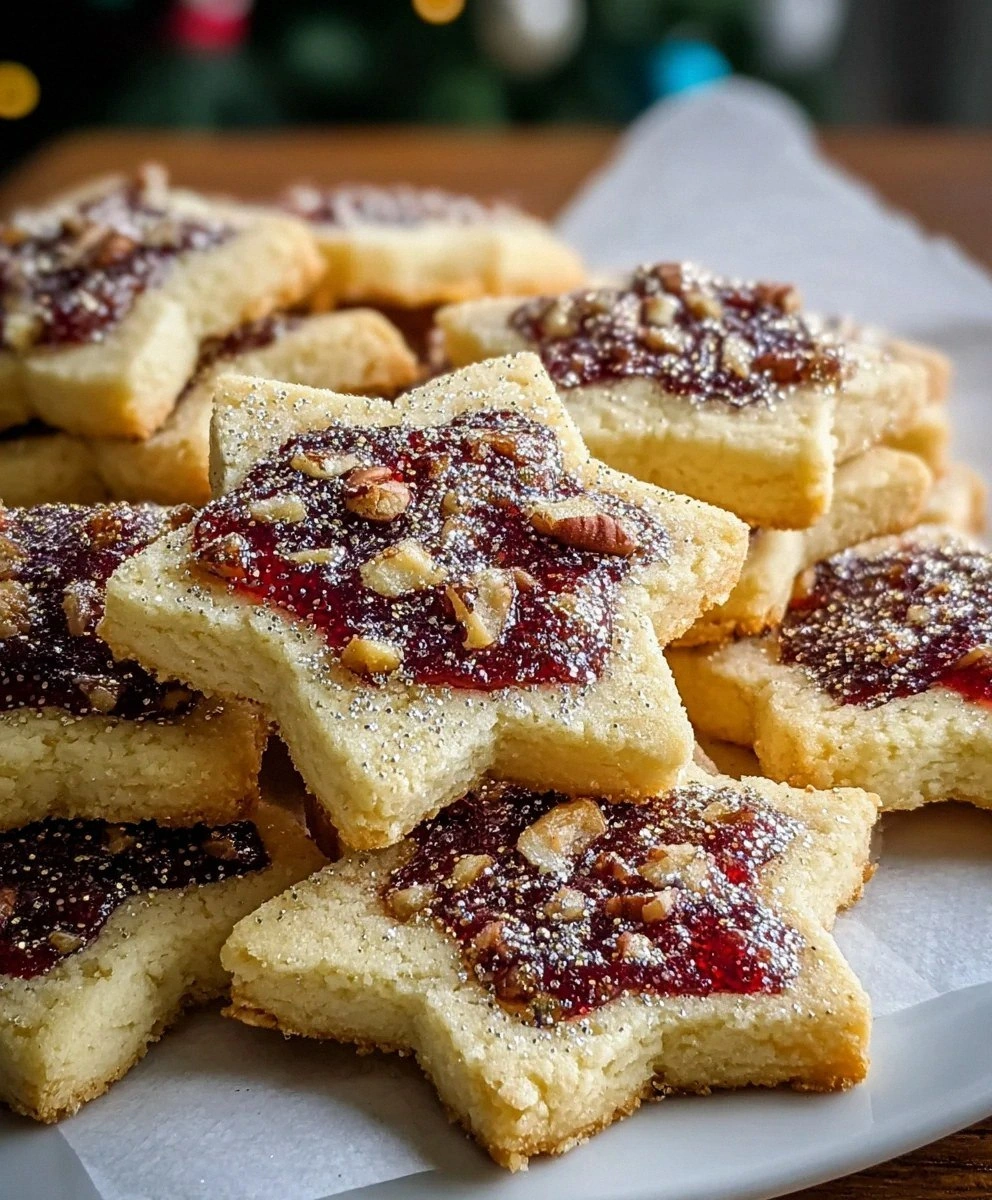
Picture this: I’m in the middle of a Sunday brunch, a pot of coffee steaming, a stack of pancakes on the counter, and a sudden, desperate craving for something sweet that feels like a hug from the inside. I’ve tried every cookie recipe I’ve found online, from the flaky shortbread to the chewy chocolate chip, but none of them hit that sweet spot of buttery richness and a hint of velvety cream. That’s when I stumbled upon a dusty recipe in a family cookbook, titled “The Pope’s Legendary Valentine.” I’m not kidding—this cookie is rumored to have been a secret treat for the Pope’s private celebrations, and I was determined to recreate it. I know you’ve probably been chasing the perfect cookie for years, so get ready to have your mind blown.
I was skeptical at first. How could a cookie be so legendary? The first time I tasted the original, the butter seemed to melt on my tongue like a soft, warm blanket, the sugar didn’t feel like a sugar overload but instead a gentle sweetness that lingered, and the heavy cream added a subtle, almost savory depth that made the cookie feel like it had a story behind it. The texture was a paradox: a crisp edge that snapped like a brittle twig, a chewy center that felt like a piece of caramel, and a buttery mouthfeel that left you wanting more. I’m telling you, I dared you to taste this and not go back for seconds, and you’ll see why I’m so confident in this version.
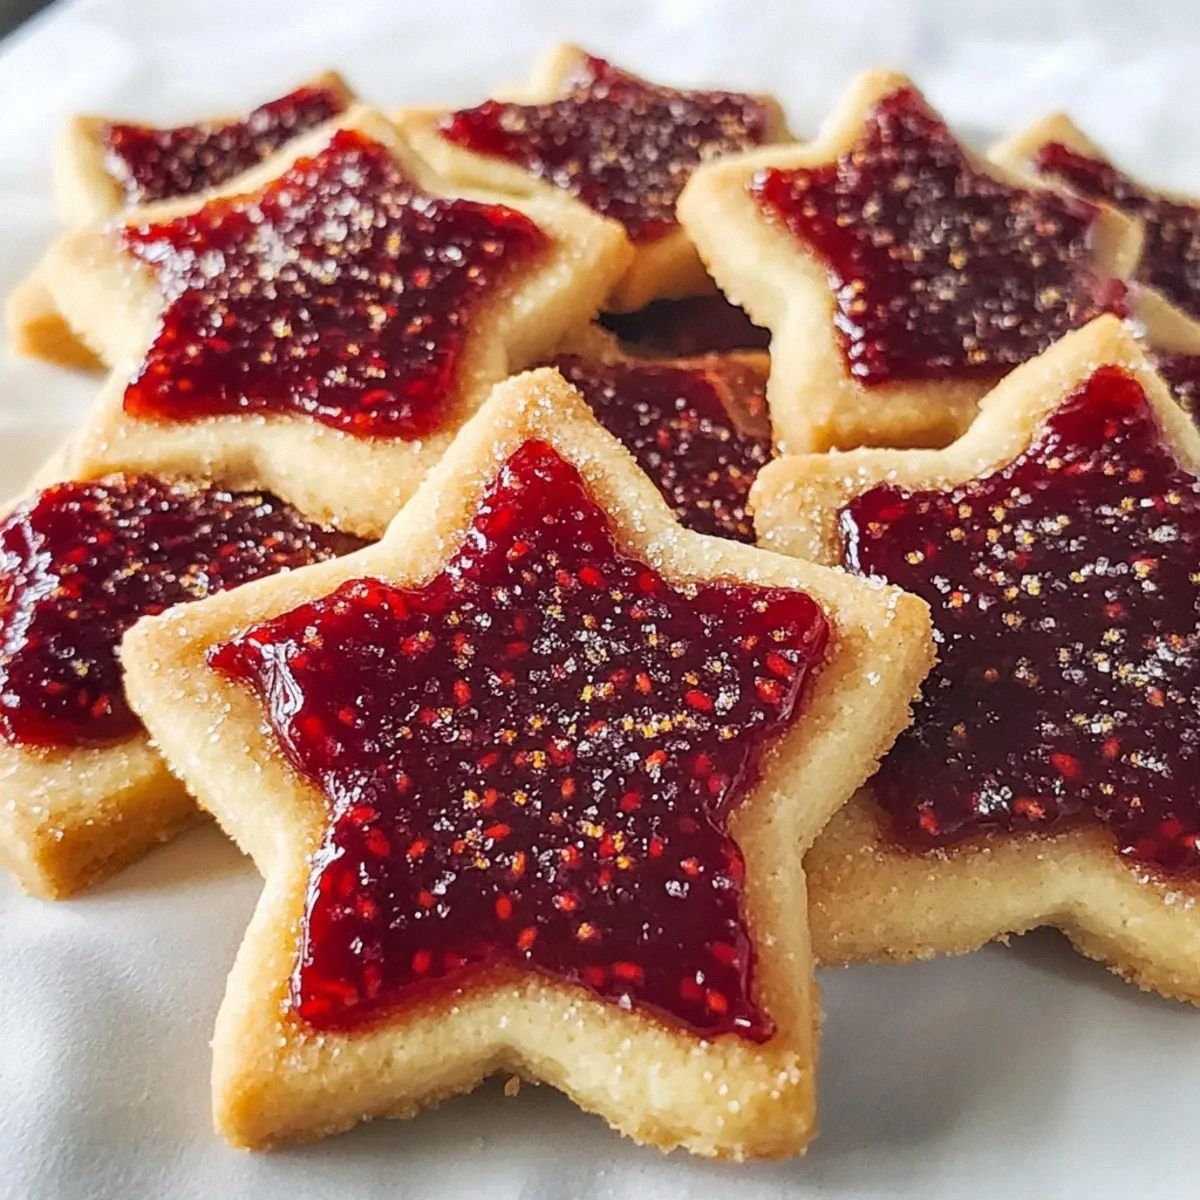
What sets this recipe apart from the countless cookie variations out there? First, it uses a high ratio of butter to flour, which gives that luxurious, melt-in-your-mouth quality. Second, the heavy cream isn’t just a flavor enhancer; it’s the secret that locks in moisture and gives the cookie a subtle, airy lift. Third, the sugar is balanced just right, so the cookie isn’t cloying. Fourth, the dough is rolled thin, which creates that signature crisp edge that shatters like thin ice. And finally, the baking time is short and sweet, ensuring the cookies stay soft inside while crisp outside. This is hands down the best version you’ll ever make at home, and I’m about to walk you through every single step—by the end, you’ll wonder how you ever made it any other way.
If you’ve ever struggled with cookies that turn out too dense or too crumbly, you’re not alone—and I’ve got the fix. I’ll show you how to keep the dough cohesive, how to control the temperature, and how to bake them to perfection. Picture yourself pulling a tray of golden cookies from the oven, the whole kitchen smelling incredible, and the first bite delivering a buttery explosion that makes you feel like you’re in a secret Vatican kitchen. Stay with me here—this is worth it.
What Makes This Version Stand Out
- Butter Dominance: The generous amount of softened butter gives the cookie a rich, decadent flavor that melts in your mouth, unlike the typical butter-to-flour ratio of most cookie recipes.
- Heavy Cream Enrichment: Heavy cream adds a silky, airy lift that makes the cookies feel light yet substantial, a trick rarely seen in standard cookie dough.
- Texture Contrast: The thinly rolled dough creates a crisp edge that snaps like thin ice while the center remains chewy and tender.
- Balanced Sweetness: The half cup of granulated sugar is just enough to sweeten without overpowering the buttery notes.
- Make‑Ahead Friendly: Once baked, these cookies keep wonderfully fresh for up to a week, making them perfect for last‑minute gift‑givers.
- Simple Method: No special equipment or advanced techniques—just basic mixing, rolling, and baking.
- Historical Flair: The recipe’s lineage adds a touch of mystery and tradition that turns an ordinary dessert into a storytelling experience.
- Crowd Reaction: Friends and family who taste these cookies often ask for the recipe after the first bite—proof that you’re serving something truly special.
Alright, let’s break down exactly what goes into this masterpiece. And before we dive into the ingredient deep‑dive, here’s a quick kitchen hack that will elevate your cookie game.
Inside the Ingredient List
The Flour Foundation
The all‑purpose flour is the backbone of the cookie, providing structure while keeping the dough light. If you skip it, the cookie collapses into a greasy mess. For the best result, sift the flour to remove clumps and aerate it, which helps the dough spread evenly. If you’re in a pinch, you can substitute a portion of the flour with cake flour for a softer bite, but the texture will shift slightly. When selecting flour, look for a brand with a moderate protein content (10‑12%) to strike a balance between chewiness and crispness.
The Butter Brilliance
Butter is the star of this cookie. Use real butter, never margarine, because margarine’s lower fat content and higher water content will produce a flat, crumbly cookie. The butter should be softened to room temperature, but not melted; a slightly tacky surface ensures even distribution. If you’re adventurous, you can add a pinch of sea salt to the butter before mixing, which enhances the overall flavor profile. Skipping butter would drastically alter the mouthfeel, turning the cookie into a dry, crumbly biscuit.
The Sugar Sweetener
Granulated sugar is the sweetener that balances the richness of butter and cream. It also helps create the cookie’s slight caramelization on the edges. Using raw or turbinado sugar would give a deeper caramel flavor, but the classic granulated sugar keeps the cookie’s texture predictable. If you prefer a slightly lighter cookie, replace half the sugar with honey or maple syrup, but be mindful that the moisture content will increase. Skipping sugar would make the cookie taste like a savory biscuit.
The Creamy Unexpected Star
Heavy whipping cream is the secret that elevates the cookie from ordinary to extraordinary. It adds a subtle dairy richness that balances the buttery flavor, while also contributing to a tender crumb. If you don’t have heavy cream, you can use whole milk, but the cookie will be slightly less airy. The cream’s fat content is crucial for that melt‑in‑your‑mouth experience. Skipping the cream would result in a denser, less luxurious cookie.
Everything’s prepped? Good. Let’s get into the real action.

The Method — Step by Step
- Start by placing the softened butter in a large mixing bowl. Let it sit for a minute so it softens further, then add the granulated sugar. Beat them together with an electric mixer on medium speed until the mixture is light, fluffy, and pale—about 2 minutes. This process incorporates air and creates the cookie’s fluffy interior.
- Add the heavy whipping cream to the butter‑sugar mixture. Stir gently with a spatula until the cream is fully blended. The dough should be slightly sticky but manageable. If it feels too wet, chill the dough for 15 minutes; if it’s too dry, add a splash of milk.
- Sift the all‑purpose flour over the mixture and gently fold it in with a spatula. Mix until the flour is just incorporated—overmixing will develop gluten and make the cookies tough. The dough should be soft and pliable, not dry or crumbly.
- Wrap the dough in plastic wrap and chill in the refrigerator for at least 30 minutes. Chilling firms the butter and makes the dough easier to roll. It also helps the cookies maintain their shape during baking.
- Preheat your oven to 350°F (175°C). Line a baking sheet with parchment paper or a silicone mat to prevent sticking.
- On a lightly floured surface, roll the chilled dough to about 1/8 inch thickness. Use a cookie cutter or a sharp knife to cut out shapes—classic rounds work best, but feel free to get creative. The thinness is key to achieving that crisp edge.
- Place the cut dough onto the prepared baking sheet, spacing them about 2 inches apart. Bake for 12–14 minutes, or until the edges turn golden brown and the centers look set but still soft. Keep an eye on the cookies; they can go from perfect to overdone quickly.
- Remove the cookies from the oven and let them cool on the sheet for 5 minutes before transferring to a wire rack. This allows the cookies to firm up without breaking. Once cooled, enjoy the buttery, silky texture that only a well‑executed recipe can provide.
That’s it— you did it. But hold on, I’ve got a few more tricks that will take this to another level. These insider tips will make you the cookie maestro of your kitchen.
Insider Tricks for Flawless Results
The Temperature Rule Nobody Follows
Many bakers bake cookies at 375°F, but that high temperature can cause the butter to melt too quickly, resulting in a flat cookie. By baking at 350°F, the butter stays in place long enough for the edges to crisp while the center remains tender. I once baked at 375°F and the cookies were a sad, flat circle. The lesson? Keep the heat moderate and the texture sublime.
Why Your Nose Knows Best
As soon as the cookies hit the oven, the aroma will start to rise like a sweet incense. Trust that scent; when the edges turn golden and the smell is buttery and caramelized, it’s time to pull them out. I’ve always used the aroma as a cue, and it’s saved me from burning too many batches.
The 5-Minute Rest That Changes Everything
After baking, let the cookies sit on the sheet for 5 minutes before moving them. This brief rest allows the interior to set properly and prevents the cookies from breaking. I’ve seen friends try to transfer hot cookies immediately, and they end up all cracked and misshapen. Trust me, a short rest makes a world of difference.
Use a Silicone Mat for Easy Cleanup
Parchment paper is great, but a silicone baking mat makes removing the cookies a breeze. It also allows you to bake multiple trays without re‑lining each time. My friend uses silicone mats for every batch, and she never has to scrub parchment residue off the sheet.
Add a Pinch of Sea Salt on Top
Just before baking, lightly sprinkle sea salt over the cookie tops. The salt caramelizes slightly and brings out the buttery flavor, giving the cookie a sophisticated finish. I’ve experimented with different salts—sea salt gives a subtle crunch, while smoked salt adds a hint of smokiness.
Creative Twists and Variations
This recipe is a playground. Here are some of my favorite ways to switch things up:
Cocoa‑Infused Velvet
Add 2 tablespoons of unsweetened cocoa powder to the dough for a chocolatey version. The cocoa deepens the flavor and gives a richer color. Pair it with a drizzle of dark chocolate on top for an indulgent treat.
Herbal Citrus Burst
Zest half a lemon and add it to the dough. The citrus brightens the butter flavor, creating a fresh, zesty cookie. A splash of orange liqueur before baking gives a subtle adult twist.
Nutty Crunch
Fold in ½ cup of chopped toasted almonds or walnuts. The nuts add crunch and a nutty aroma that complements the buttery base. Serve with a dusting of powdered sugar for an elegant look.
Spiced Delight
Add ¼ teaspoon of ground cinnamon and a pinch of nutmeg to the flour mixture. The spices give a warm, cozy feel, perfect for fall or holiday gatherings. The cookies pair wonderfully with a cup of hot cocoa.
Salted Caramel Drizzle
Melt ¼ cup of butter with ½ cup of brown sugar and a pinch of sea salt. Drizzle over the cooled cookies for a decadent, caramelized finish. The salty sweetness is irresistible.
Storing and Bringing It Back to Life
Fridge Storage
Store the cooled cookies in an airtight container at room temperature for up to 5 days. If you need to keep them longer, refrigerate them for up to a week. The butter will firm up slightly, but the cookies remain delicious.
Freezer Friendly
Place the cookies in a freezer‑proof bag or container. They’ll stay fresh for up to 3 months. When you’re ready to eat, let them sit at room temperature for 10 minutes to soften slightly before serving.
Best Reheating Method
To bring the cookies back to life, preheat your oven to 300°F (150°C). Place the cookies on a parchment‑lined sheet and warm for 5 minutes. Add a tiny splash of water to the baking sheet before reheating; it steams the cookies, restoring moisture and that buttery shine.