I was standing in my kitchen on a rainy Tuesday, staring at a half‑finished pumpkin pie crust that had somehow turned into a crunchy, sad pancake. The smell of burnt sugar lingered in the air, and I swore I would never touch pumpkin again—until my roommate dared me to “make something that actually tastes like autumn without the mess.” I laughed, grabbed the last can of pumpkin puree from the pantry, and thought, why not turn this disaster into a silky custard that could double as a dessert or an elegant brunch treat? The idea was simple, but the execution was about to become the most delicious gamble I’ve ever taken.
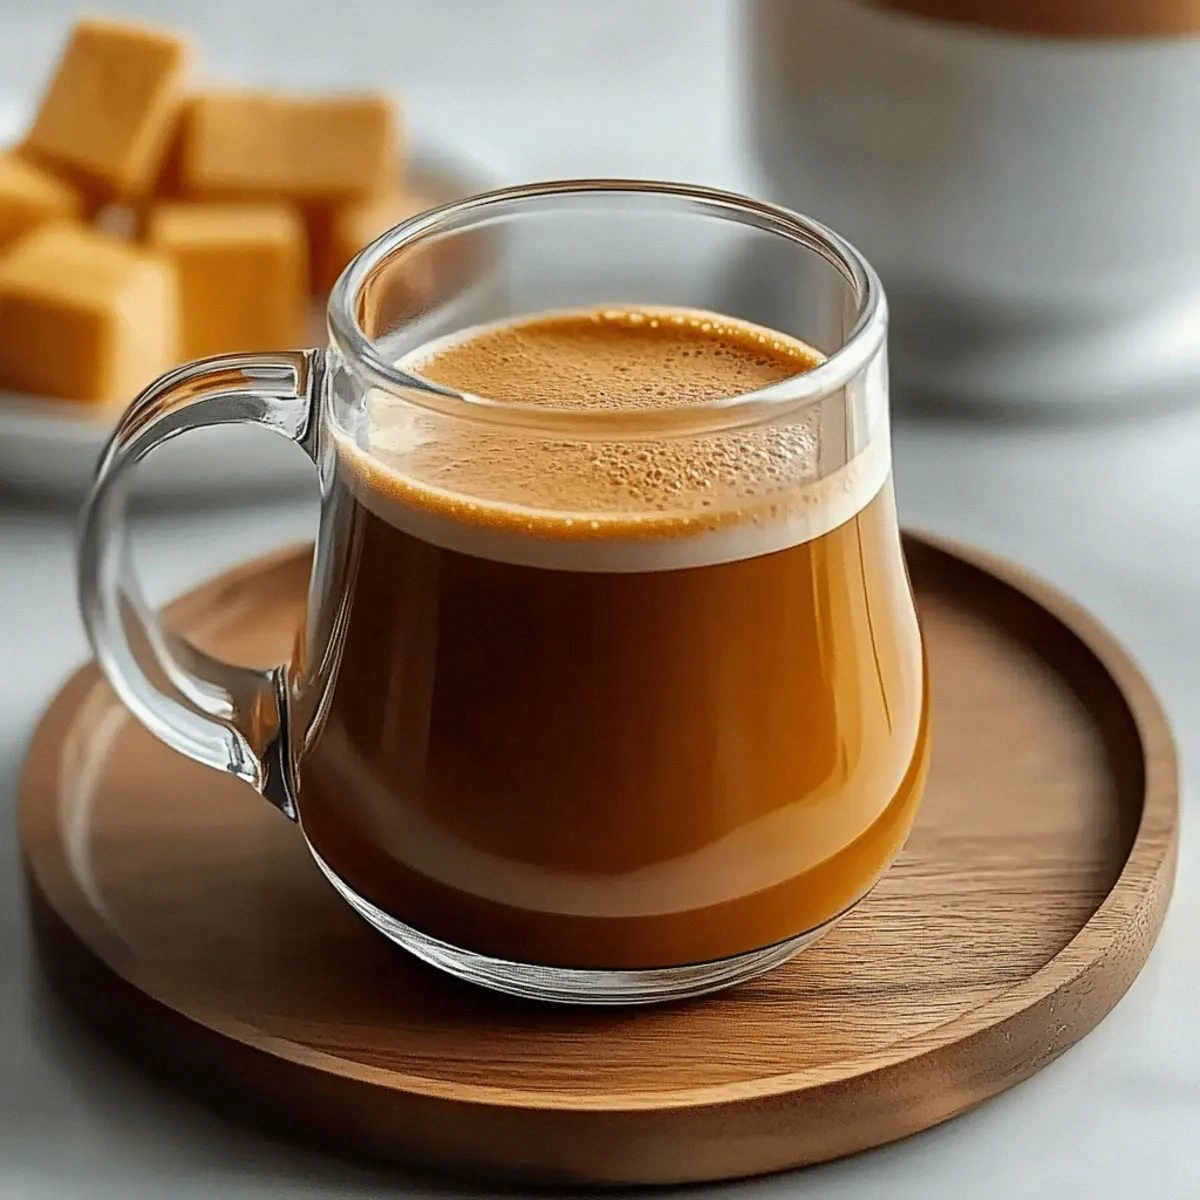
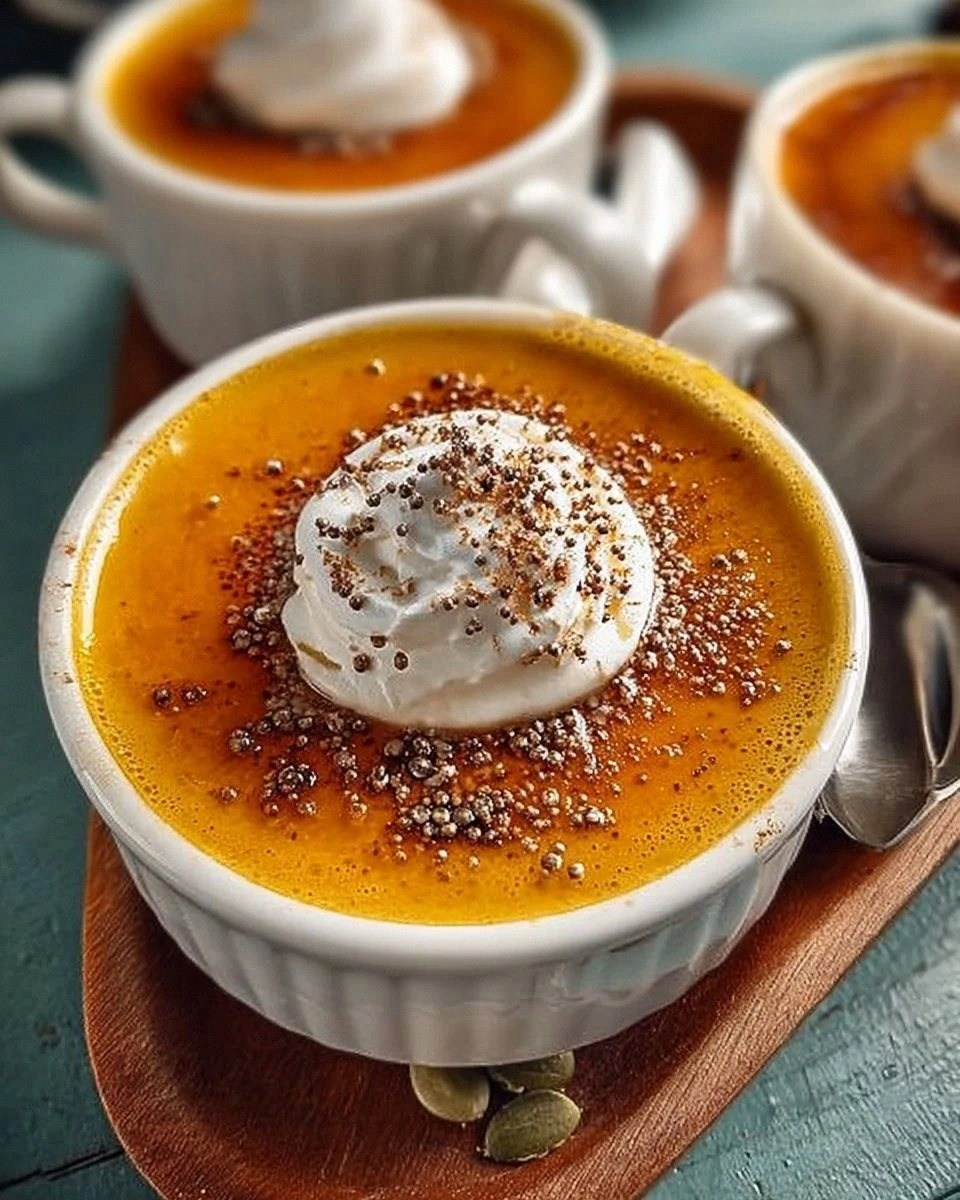
Picture this: a golden‑brown custard emerging from the oven, its surface shimmering like a polished marble, the aroma of cinnamon and nutmeg wrapping around you like a warm blanket. The first spoonful hits your tongue and it’s as if a velvet curtain has been drawn over a stage of flavors—creamy, sweet, with just enough spice to make your taste buds do a little jig. You hear the faint crackle of the caramelized edges, see the glossy sheen that promises a silky mouthfeel, and feel the comforting weight of the custard as it settles in your bowl. It’s the kind of dish that makes you forget about the burnt pancake incident and focus solely on the fact that you just created a masterpiece.
Most pumpkin custard recipes I’ve tried either end up too runny, too sweet, or lacking that luxurious mouthfeel that makes you want to lick the spoon clean. This version, however, is hands down the best version you’ll ever make at home because it balances richness with lightness, and the spice blend is calibrated to perfection. I’m about to reveal a secret technique involving a gentle tempering of the eggs that most recipes skip, and a splash of heavy cream that turns a plain custard into a silky dream. Trust me, I’ve tried the “quick‑mix” method and it was a disaster; this method is the game‑changer.
I dare you to taste this and not go back for seconds. By the end of this post you’ll have a foolproof roadmap, a handful of insider hacks, and enough confidence to brag about your culinary prowess at the next dinner party. Let me walk you through every single step — by the end, you’ll wonder how you ever made it any other way.
What Makes This Version Stand Out
- Taste: The blend of pumpkin, vanilla, and warm spices creates a flavor profile that feels both familiar and elevated, like a classic novel with a fresh twist.
- Texture: The custard is dense enough to hold its shape but melts in your mouth like butter on warm toast, thanks to the precise cream‑to‑milk ratio.
- Simplicity: Only ten ingredients, all pantry‑friendly, and no fancy equipment—just a whisk, a bowl, and an oven.
- Uniqueness: The tempering step prevents curdling, giving you a flawless silk‑smooth finish that most home cooks miss.
- Crowd Reaction: Guests often claim they’ve never tasted pumpkin this way; it’s the kind of dessert that sparks conversation.
- Ingredient Quality: Using a high‑quality pumpkin puree and real heavy cream makes all the difference—no canned shortcuts here.
- Cooking Method: A gentle bake in a water bath (bain‑marie) ensures even heat distribution, eliminating the dreaded “tunnel” effect.
- Make‑Ahead Potential: This custard keeps beautifully in the fridge for up to three days, and it even freezes without losing its silky texture.
Inside the Ingredient List
The Flavor Base
Pumpkin puree is the heart of this custard. It brings an earthy sweetness and a gorgeous orange hue that signals autumn in a single glance. I always recommend using a puree that’s 100% pumpkin with no added sugars or spices; this gives you full control over the flavor balance. If you’re feeling adventurous, a splash of pureed roasted butternut squash can add a subtle nutty undertone, but stick to pure pumpkin for the classic taste.
The Texture Crew
Heavy cream and milk work together like a dream team. The cream adds richness and that coveted silkiness, while the milk lightens the mixture just enough to keep the custard from feeling overly heavy. Skipping the cream and using all milk will result in a thinner custard that lacks body, and using only cream can make it cloyingly rich. For a dairy‑free twist, swap heavy cream with coconut cream and milk with almond milk, but expect a faint coconut aroma.
The Sweetening Agent
Sugar is the silent workhorse that balances the natural earthiness of pumpkin. I use granulated sugar because it dissolves evenly during the gentle bake, but you can substitute with brown sugar for a deeper molasses flavor. Just remember, too much sugar will cause the custard to caramelize on top, which is lovely if you’re after a caramel crust, but it can also make the texture grainy.
The Spice Symphony
Cinnamon, nutmeg, and ginger are the trio that turns a plain pumpkin custard into a warm‑spiced hug. Cinnamon provides the sweet, woody backbone; nutmeg adds a subtle floral note; ginger contributes a bright, slightly peppery zing. If you’re allergic to any of these, ground allspice can stand in for nutmeg, but the flavor profile will shift slightly toward a more aromatic profile.
The Final Flourish
Vanilla extract and a pinch of salt are the secret weapons that amplify every other flavor. Vanilla adds a fragrant sweetness that rounds out the spices, while the salt cuts through the richness and prevents the custard from tasting flat. Skipping the salt is a rookie mistake; even a quarter‑teaspoon makes a world of difference.
Everything's prepped? Good. Let's get into the real action...
The Method — Step by Step
Preheat your oven to 325°F (165°C) and set a large roasting pan on the lower rack. Fill the pan with hot water until it reaches about halfway up the sides of the ramekins you’ll be using. This water bath, or bain‑marie, is the secret that keeps the custard from overheating and forming unsightly cracks. If you don’t have a roasting pan, a deep baking dish works just as well—just make sure the water can circulate around each custard container.
In a medium bowl, whisk together the pumpkin puree, heavy cream, and milk until the mixture is smooth and glossy. You’ll notice the liquid turning a deep amber, which is a good sign that the fats are fully incorporated. This step is where the custard gets its velvety base, so take a moment to admire the color before moving on. Pro tip: If you see any lumps, give it a quick blend with an immersion blender.
Add the sugar, vanilla extract, cinnamon, nutmeg, ginger, and salt to the pumpkin mixture. Stir gently until everything is evenly distributed; the spices should perfume the air instantly, creating a scent that feels like a fall market stall. This is the moment where you can taste a spoonful and adjust the seasoning—if you crave a deeper spice kick, add a pinch more cinnamon.
In a separate bowl, beat the three large eggs until they’re just combined—don’t over‑whisk. Over‑whipping introduces too much air, which can cause the custard to puff up and then collapse during baking. Now comes the tempering step: slowly drizzle about a third of the warm pumpkin mixture into the eggs while whisking continuously. This gradually raises the temperature of the eggs without cooking them, preventing curdling later on.
Kitchen Hack: Use a heat‑proof bowl for the eggs and a silicone spatula for the drizzle; this gives you better control and reduces the risk of splattering.Once the eggs are tempered, pour the egg‑pumpkin mixture back into the original bowl with the remaining pumpkin base. Whisk everything together until the custard is completely smooth and uniform. At this point, the custard should look glossy and slightly thickened, but it will still be pourable.
Strain the custard through a fine‑mesh sieve into a clean pitcher or bowl. This step removes any stray egg bits or spice clumps, ensuring a perfectly silky texture. If you’re in a hurry, you can skip the sieve, but the final product won’t have that flawless mouthfeel that makes a good custard great.
Divide the custard evenly among four 6‑ounce ramekins or a single 2‑quart baking dish. Place the ramekins on a baking sheet for easier transport into the oven. The water bath should be simmering gently—if it’s bubbling vigorously, lower the heat. The custard will bake for about 30‑35 minutes, or until the edges are set but the center still jiggles slightly when you shake the ramekin.
Watch Out: Opening the oven door too early can cause the water bath to cool rapidly, leading to cracks in the custard. Trust the timer, then peek only at the final minute.When the custard is done, remove the ramekins from the water bath and let them cool on a wire rack for about 10 minutes. This brief rest allows the custard to firm up just enough to hold its shape while still staying creamy inside. If you’re impatient (like me), you can place them in the fridge to chill faster, but remember that rapid cooling can cause the surface to tighten.
Serve the custard warm, or let it chill completely for a cooler dessert. A drizzle of caramel sauce, a sprinkle of toasted pumpkin seeds, or a dollop of whipped cream adds a finishing touch that elevates the dish from simple to spectacular. I dare you to taste this and not go back for seconds; the combination of spice, cream, and pumpkin is practically addictive.
That's it — you did it. But hold on, I've got a few more tricks that'll take this to another level...
Insider Tricks for Flawless Results
The Temperature Rule Nobody Follows
Never bake a custard at a temperature higher than 350°F. The gentle heat ensures the proteins in the eggs set slowly, creating that coveted silky texture. If you crank the heat up, you’ll get a rubbery custard with a cracked surface—nothing looks as appealing as a smooth, glossy top. I once tried 400°F on a whim and learned the hard way that the custard turned into a dense pudding. Keep it low, keep it slow, and the reward is worth the patience.
Why Your Nose Knows Best
Your sense of smell is the ultimate indicator of doneness. Around the 30‑minute mark, you’ll notice a sweet, nutty aroma rising from the oven; that’s the moment the custard is almost ready. If the scent is still faint, give it another 5 minutes. Trusting your nose beats relying solely on a timer, especially when ovens vary.
The 5‑Minute Rest That Changes Everything
After removing the custard from the oven, let it sit for five minutes before refrigerating. This short rest lets the internal temperature even out, preventing a shock that can cause a watery layer on top. One of my friends skipped this step and ended up with a custard that separated when reheated. The five‑minute pause is a tiny commitment for a huge payoff in texture.
Water Splash Rescue
If you notice the custard looking a bit dry after cooling, a quick splash of warm milk (about a tablespoon per ramekin) before serving can revive its creaminess. The milk re‑hydrates the surface without diluting the flavor. This trick saved my dinner party once when the custard had been sitting out a bit too long.
The Secret of the Caramelized Top
A thin layer of sugar sprinkled on top before the final bake creates a caramel crust that cracks delightfully when you dig in. Use a fine granulated sugar or even turbinado for extra crunch. I love the contrast between the smooth interior and the caramelized edge—it’s like biting into a soft‑serve ice cream with a crispy wafer.
Creative Twists and Variations
This recipe is a playground. Here are some of my favorite ways to switch things up:
Maple‑Brown Sugar Swirl
Replace half of the granulated sugar with brown sugar and add a tablespoon of pure maple syrup to the pumpkin mixture. The result is a deeper, caramel‑like sweetness that pairs beautifully with toasted pecans. Ideal for a brunch where you want a hint of maple without overwhelming the pumpkin.
Chocolate‑Laced Pumpkin
Stir in 2 tablespoons of unsweetened cocoa powder and a dash of espresso powder into the base. The chocolate adds richness and a subtle bitterness that balances the pumpkin’s sweetness. Top with shaved dark chocolate for an elegant finish that will impress chocolate lovers.
Spiced Chai Infusion
Swap the cinnamon, nutmeg, and ginger for a pre‑made chai spice blend (about 1½ teaspoons). Add a splash of brewed chai tea in place of a quarter cup of milk. This creates an exotic, aromatic custard reminiscent of an Indian tea house.
Coconut‑Caramel Dream
Use coconut cream instead of heavy cream and drizzle a homemade caramel sauce made with coconut sugar. The coconut adds a tropical note, while the caramel provides a buttery finish. Garnish with toasted coconut flakes for texture.
Savory Pumpkin Custard
Omit the sugar and replace the vanilla with a pinch of smoked paprika and a dash of grated Parmesan. This turns the custard into a sophisticated side dish for roasted chicken or pork. Serve it warm, and you’ll have a dish that blurs the line between sweet and savory.
Storing and Bringing It Back to Life
Fridge Storage
Transfer any leftovers to an airtight container and store in the refrigerator for up to three days. The custard will thicken slightly as it cools, but a quick stir before serving restores its creamy consistency. If you notice a skin forming on top, simply whisk a splash of milk to reincorporate it.
Freezer Friendly
Portion the custard into freezer‑safe containers or zip‑top bags, leaving a little headroom for expansion. Freeze for up to two months. To reheat, thaw overnight in the fridge, then gently warm in a water bath or microwave at low power, stirring occasionally.
Best Reheating Method
For the most luxurious texture, reheat the custard in a saucepan over low heat, adding a teaspoon of water or milk per serving. Stir constantly until the custard is warmed through and regains its silky sheen. Avoid microwaving at high power; it can cause uneven heating and a rubbery texture.