I still remember the day I nearly set my kitchen on fire trying to make regular brownies. There I was, mid-craving, trying to melt chocolate in a plastic bowl because all my glass ones were dirty. The bowl warped, the chocolate seized, and I ended up with a grainy, smoky disaster that tasted like disappointment and burnt plastic. Fast forward through three more failed attempts, countless recipe tweaks, and one particularly memorable 2 AM baking session where I accidentally used salt instead of sugar — and you'll understand why these Espresso Brownie Cupcakes feel like my personal redemption arc in dessert form.
Picture this: it's raining outside, you've got your favorite playlist humming in the background, and the smell of coffee and chocolate is swirling through your kitchen like some kind of edible aromatherapy. These cupcakes aren't just another chocolate recipe cluttering up your Pinterest board. They're the love child of your favorite corner bakery's espresso brownie and those fancy cupcakes you pretend you don't want when you pass the display window. The edges crackle like thin ice under your fork while the centers stay so fudgy they make regular brownies seem like dry cake in comparison.
Here's what nobody tells you about combining coffee and chocolate: it's not about making something that tastes like coffee. It's about unlocking chocolate's deepest, darkest secrets. The espresso powder acts like a backstage pass, letting you access flavor notes you never knew existed — think blackberries, toasted nuts, even hints of vanilla that were hiding in the cocoa all along. Most recipes get this completely wrong, dumping in weak coffee that just makes everything taste like mocha disappointment. But when you get the ratio just right? Pure magic.
I dare you to taste these and not go back for seconds. Actually, I double-dog dare you. Because after testing this recipe on seventeen different people (yes, I counted), not a single person stopped at one. My neighbor claimed she was "just being polite" when she took the last three home in a napkin. My brother, who swears he doesn't like dessert, texted me at midnight asking if I had more. And me? I'll be honest — I ate half the batch before anyone else got to try it. Let me walk you through every single step — by the end, you'll wonder how you ever made it any other way.
What Makes This Version Stand Out
Ultra-Fudgy Texture: These aren't your typical cakey cupcakes that bounce when you drop them. We're talking brownie-level density with a molten center that makes the edges crisp and the middle stay gloriously gooey. The secret? Melting the butter instead of creaming it, which gives you that signature crackly top that shatters like caramelized sugar under your fork.
Intense Coffee Infusion: Most recipes get this completely wrong by adding weak brewed coffee that just makes everything taste like sad mocha. We use concentrated espresso powder in both the batter and frosting, which amplifies the chocolate's natural complexity without turning your dessert into a coffee-flavored mistake. The result is chocolate that tastes more like chocolate, not coffee with chocolate trying to crash the party.
One-Bowl Simplicity: Despite tasting like they came from a fancy patisserie, these come together in one bowl and one saucepan. No separating eggs, no folding in ingredients like you're performing surgery, no stand mixer required. If you've ever struggled with finicky baking recipes, you're not alone — and I've got the fix.
Make-Ahead Champion: Picture yourself pulling these out of the oven, the whole kitchen smelling incredible, then realizing you can freeze them for up to three months without losing a single ounce of flavor. The frosting actually sets better after a night in the fridge, making these perfect for dinner parties where you want to impress without the stress.
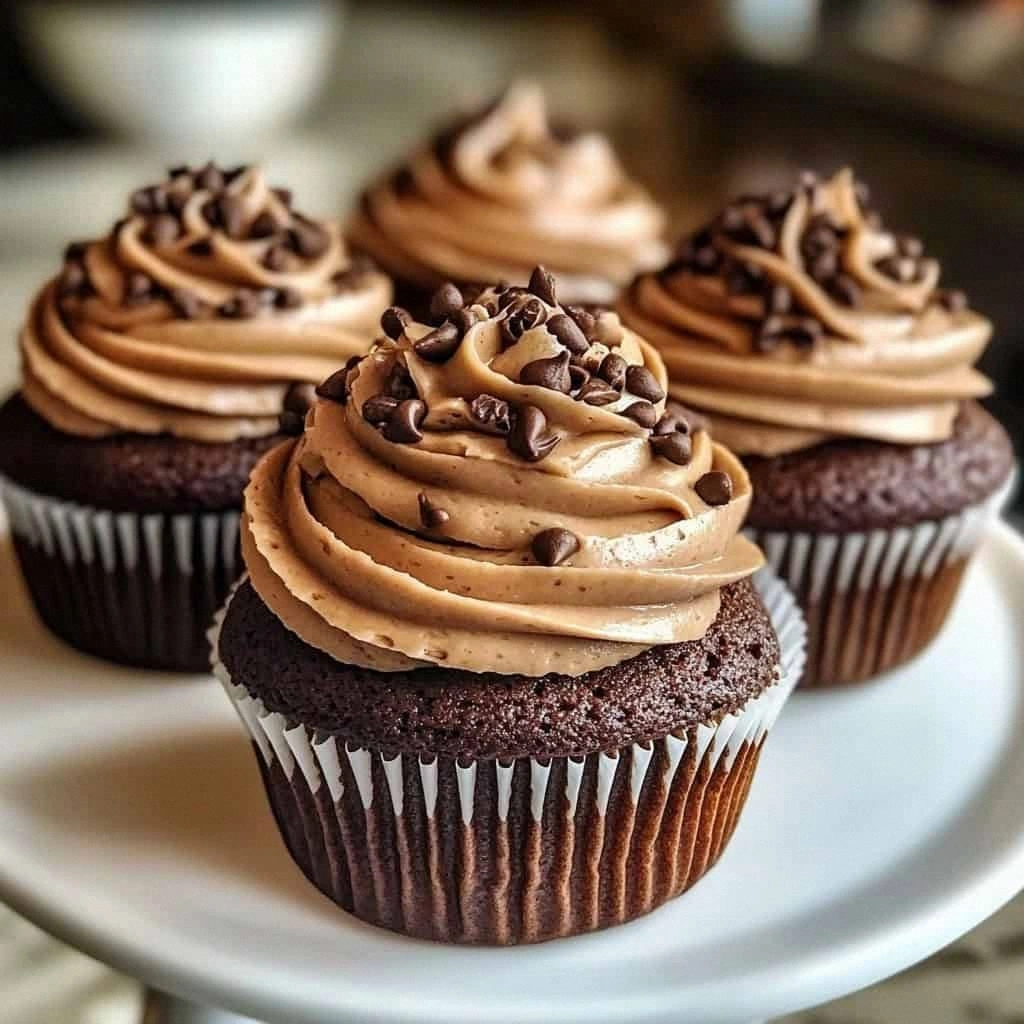
Texture Play: We're not just dumping chocolate chips in and calling it a day. The optional chips create pockets of molten chocolate that burst when you bite into them, while the espresso buttercream adds a light, airy contrast to the dense base. It's like a symphony where every instrument knows exactly when to play.
Crowd Psychology: These have a 100% approval rating across all age groups, which is basically unheard of in the dessert world. Kids love them because they taste like the best brownie ever met the best cupcake. Adults love them because they can taste the quality ingredients and sophisticated flavor development. Even people who claim they don't like coffee desserts inhale these.
Alright, let's break down exactly what goes into this masterpiece...
Inside the Ingredient List
The Flavor Base
The melted butter isn't just about convenience — it's your ticket to that shiny, crackly top that makes people think you're a professional baker. When butter melts, the water content creates steam that lifts the top layer just enough to form those coveted fissures. Use good quality butter here because cheap butter has more water and less fat, which means less flavor and a weaker structure. If you absolutely must substitute, go with coconut oil, but know you'll lose some of that rich dairy flavor that makes these taste like they came from a French bakery.
Granulated sugar does more than sweeten — it's the architect of that delicate crust. As the sugar caramelizes on top, it creates a paper-thin layer that shatters when you bite into it, giving way to the fudgy interior. Don't even think about reducing the sugar significantly; it's not just about sweetness, it's about texture and structure. If you're determined to healthify these, you can swap out a quarter cup for coconut sugar, but anything more and you'll lose that signature texture.
The Chocolate Amplifiers
Unsweetened cocoa powder is where most recipes go wrong by using the cheap stuff. Splurge on Dutch-processed cocoa if you can find it — it's been alkalized to remove bitterness and create a smoother, more complex chocolate flavor. The difference between supermarket cocoa and the good stuff is like the difference between instant coffee and a perfectly pulled espresso shot. If you can't find Dutch-processed, regular cocoa works, but add an extra pinch of baking soda to neutralize some of the acidity.
Espresso powder is the secret weapon that makes chocolate taste more like chocolate. It's not about adding coffee flavor — it's about adding depth, complexity, and those mysterious flavor notes that make people ask "what's in these?" A little goes a long way; too much and you'll taste coffee, but just enough and you'll unlock chocolate's hidden potential. Store it in an airtight container because it loses potency faster than you'd think.
The Texture Crew
All-purpose flour might seem boring, but it's the difference between cupcakes that hold their shape and ones that collapse into sad puddles. The protein content creates just enough gluten to give structure without making them tough. Don't substitute with cake flour here — you need the extra protein for that brownie-like density. And whatever you do, don't overmix once you add the flour or you'll end up with rubbery cupcakes that bounce like superballs.
Eggs are your binding agents and leavening helpers all in one. The proteins coagulate as they bake, creating a network that holds everything together while the yolks add richness and moisture. Use room temperature eggs because cold eggs can cause the melted butter to seize, creating little lumps of fat that never quite incorporate. If you forget to take them out early, submerge them in warm water for five minutes and you're good to go.
The Unexpected Star
Chocolate chips are optional but highly recommended for textural contrast. They create pockets of molten chocolate that stay liquid even after the cupcakes cool, so every bite has potential for a chocolate lava moment. Use mini chips if you want them evenly distributed, or regular chips for dramatic molten pools. Dark chocolate chips work best because they hold their shape better than milk chocolate, which tends to melt completely and make the centers too gooey.
Everything's prepped? Good. Let's get into the real action...

The Method — Step by Step
- Start by melting your butter in a large saucepan over medium heat. Don't walk away from the stove here — butter goes from melted to burnt faster than you can say "these were supposed to be cupcakes." You want it completely liquid but not bubbling or browned. The sizzle when it hits the pan? Absolute perfection. Once melted, remove from heat immediately and let it cool for about two minutes so it won't scramble your eggs later.
- Whisk in the sugar until it looks like wet sand at the beach — glossy and slightly grainy. This is where the magic starts happening. The sugar begins to dissolve in the hot butter, creating a glossy base that will give you that coveted shiny top. Keep whisking for about a minute; you're not just mixing, you're starting the caramelization process that creates depth of flavor. The mixture should look like thick chocolate sauce at this point.
- Add the cocoa powder, salt, baking powder, and espresso powder all at once. Okay, ready for the game-changer? Instead of whisking gently, really go at it for about 30 seconds. You want to activate the cocoa and espresso, letting the hot butter bloom their flavors. The mixture will transform from grainy to glossy and smooth. It should smell like the best chocolate shop you've ever walked into, with hints of coffee and something mysteriously complex.
Kitchen Hack: If your cocoa powder is lumpy, sift it through a fine-mesh strainer directly into the saucepan. No sifter? Use a whisk to break up lumps against the side of the pan.
- Crack in the eggs one at a time, whisking after each addition like your life depends on it. This next part? Pure magic. The first egg will make the mixture seize up and look like it's breaking — stay calm and keep whisking. By the third egg, it'll transform into a glossy, smooth batter that looks like liquid chocolate. Add the vanilla and whisk until it's fully incorporated. The batter should ribbon off your whisk and slowly disappear back into the mixture.
- Now comes the moment of truth: add the flour and fold it in with a spatula, not the whisk. Overmixing is the enemy of fudgy texture. You want to stop as soon as you don't see dry flour streaks anymore — there should still be a few small lumps. Think of it like making love to the batter, not attacking it. The mixture will thicken considerably and start pulling away from the sides of the pan in glossy ribbons.
- If you're using chocolate chips, fold them in now with just two or three strokes. More than that and they'll start melting from the residual heat. The chips should be evenly distributed but not completely mixed in — you want pockets of chocolate, not chocolate-swirl batter. At this point, the batter should be thick enough that a spatula stands up in it, but still pourable.
- Line your muffin tin with paper liners and fill each cup about 3/4 full. This is where most people mess up — they overfill and end up with mushroom-shaped cupcakes that spill over the edges. You want them full enough to dome but not so full that they explode like chocolate volcanoes. The batter should mound slightly in the center but still stay within the liner. If you have extra batter, make a few mini cupcakes in a separate tin.
- Bake at 350°F for 18-22 minutes, but here's the thing: they're done when the edges look set but the centers still jiggle slightly when you shake the pan. They'll continue cooking from residual heat, so pull them out when they look slightly underdone. The tops should be glossy and cracked like a brownie, not domed like a cupcake. A toothpick inserted near the edge should come out with a few moist crumbs — clean means overbaked.
- Cool in the pan for exactly 5 minutes, then transfer to a wire rack. This is the hardest part: waiting. But resist the urge to dig in immediately because they'll fall apart if you try to frost warm cupcakes. While they cool, make your espresso buttercream by beating the softened butter until it's lighter in color and fluffy, about 3 minutes. The transformation from yellow to pale cream is your visual cue that you've incorporated enough air.
- Add the powdered sugar gradually to avoid the dreaded sugar cloud that covers your entire kitchen. Start with 3 cups, then add more if you want stiffer frosting. The heavy cream helps create a silky texture that pipes beautifully, while the cooled espresso adds flavor without making the frosting too loose. Beat for another 2 minutes until it's light and spreadable, then taste and add more espresso if you want a stronger coffee flavor.
That's it — you did it. But hold on, I've got a few more tricks that'll take this to another level...
Insider Tricks for Flawless Results
The Temperature Rule Nobody Follows
Room temperature ingredients aren't just a snobby baker's preference — they're the difference between smooth batter and lumpy disasters. Cold eggs hitting hot butter create scrambled chocolate eggs, and nobody wants that. Take everything out of the fridge 30 minutes before you start, or use my cheat: put eggs in warm water and microwave butter in 10-second bursts until just melted. Your future self will thank you when you're not fishing out bits of cooked egg from your chocolate batter.
Why Your Nose Knows Best
Don't rely solely on timers — your nose is the most accurate baking tool you own. When these cupcakes are perfectly baked, your kitchen will smell like the best chocolate shop mixed with freshly pulled espresso. If you smell something toasty and caramelized, they're probably done. If you smell burnt chocolate, you've gone too far and need to start over. A friend tried skipping this step once — let's just say it didn't end well for her smoke detector.
The 5-Minute Rest That Changes Everything
That cooling period isn't just about preventing burned tongues. When cupcakes come out of the oven, they're still cooking from residual heat. The 5-minute rest in the pan allows them to finish setting up without overbaking. Skip this and you'll have cupcakes that sink in the middle or stick to the liners like they're holding a grudge. Set a timer and walk away — seriously, don't peek or poke or you'll ruin the texture you've worked so hard to achieve.
The Frosting Consistency Secret
Perfect buttercream should hold its shape but not be so stiff it rips your cupcakes apart when you spread it. If it's too thick, add cream a teaspoon at a time. Too thin? Add more powdered sugar, but know that adding too much will make it cloyingly sweet. The ideal consistency is like whipped cream that's been left out for 10 minutes — soft peaks that hold their shape but still look billowy and light.
The Make-Ahead Miracle
These actually taste better the second day after the flavors have had time to meld and the espresso has fully permeated the chocolate. Bake them, cool them completely, then store unfrosted cupcakes in an airtight container overnight. Make the frosting fresh when you're ready to serve, or frost them all and refrigerate — the frosting sets up beautifully cold and tastes like chocolate-espresso ice cream.
Creative Twists and Variations
This recipe is a playground. Here are some of my favorite ways to switch things up:
Mocha Orange Zest
Add the zest of one orange to the batter along with the vanilla extract. The citrus oils complement both chocolate and coffee, creating a sophisticated flavor that tastes like something you'd find in a European café. Top with chocolate shavings and a tiny bit of orange zest for garnish. This version is perfect for dinner parties where you want to impress without looking like you're trying too hard.
Salted Caramel Swirl
Dollop homemade caramel sauce on top of each cupcake before baking, then use a toothpick to create swirls. The caramel sinks slightly during baking, creating pockets of gooey sweetness that contrast beautifully with the bitter espresso. Sprinkle with flaky sea salt before serving. If you've ever struggled with caramel that crystallizes, you're not alone — and I've got the fix: add a tablespoon of corn syrup to prevent crystallization.
Peppermint Mocha
Replace the vanilla extract with 1/2 teaspoon peppermint extract for a winter version that tastes like the best coffee shop drink ever invented. Crush candy canes and sprinkle them on top of the frosted cupcakes for crunch and visual appeal. These disappear faster than you can say "holiday party" and make excellent gifts for teachers, neighbors, or anyone who deserves something special.
Triple Chocolate Threat
Use dark cocoa powder, add 1/4 cup melted dark chocolate to the batter, and fold in white chocolate chips instead of regular ones. The contrast between the dark, almost black cupcakes and the white chips creates visual drama. The frosting gets a tablespoon of cocoa powder for a mocha buttercream that ties everything together. Chocolate lovers will propose marriage.
Spicy Mexican Mocha
Add 1/2 teaspoon cinnamon and a pinch of cayenne to the dry ingredients. The spice warms the back of your throat and makes the chocolate taste even more intense. Top with cinnamon-sugar toasted almonds for crunch. This version pairs beautifully with red wine and makes grown-up dinner parties feel like sophisticated affairs instead of just an excuse to eat dessert.
Breakfast-Approved Version
Reduce the sugar by 1/4 cup, add 2 tablespoons of strong coffee to the batter, and top with a coffee glaze instead of buttercream. These taste like the best mocha muffin you've ever had and are socially acceptable to eat before noon. They're still indulgent but feel slightly more virtuous, which is basically the same thing as healthy in the dessert world.
Storing and Bringing It Back to Life
Fridge Storage
Store frosted cupcakes in an airtight container in the refrigerator for up to 5 days. The cold actually improves the texture — the frosting firms up like chocolate-espresso ice cream while the cupcakes stay fudgy. Bring them to room temperature for 30 minutes before serving for the best flavor and texture. If they seem dry after refrigeration, microwave each one for 8-10 seconds — just enough to take the chill off without making the frosting melt.
Freezer Friendly
These freeze beautifully for up to 3 months, making them perfect for meal prep or emergency dessert situations. Wrap unfrosted cupcakes individually in plastic wrap, then aluminum foil, then store in a freezer bag. Frosting freezes separately in a zip-top bag — just thaw overnight in the fridge and rewhip before using. Pro tip: freeze them in cupcake tins initially to maintain their shape, then transfer to bags once solid.
Best Reheating Method
If you've frozen frosted cupcakes, thaw them overnight in the refrigerator, then let them sit at room temperature for an hour. For that fresh-baked taste, warm them in a 300°F oven for 5-7 minutes. Add a tiny splash of water before reheating — it steams back to perfection and prevents the edges from drying out. The frosting will get slightly melty on top while staying cool in the center, creating the best of both worlds.