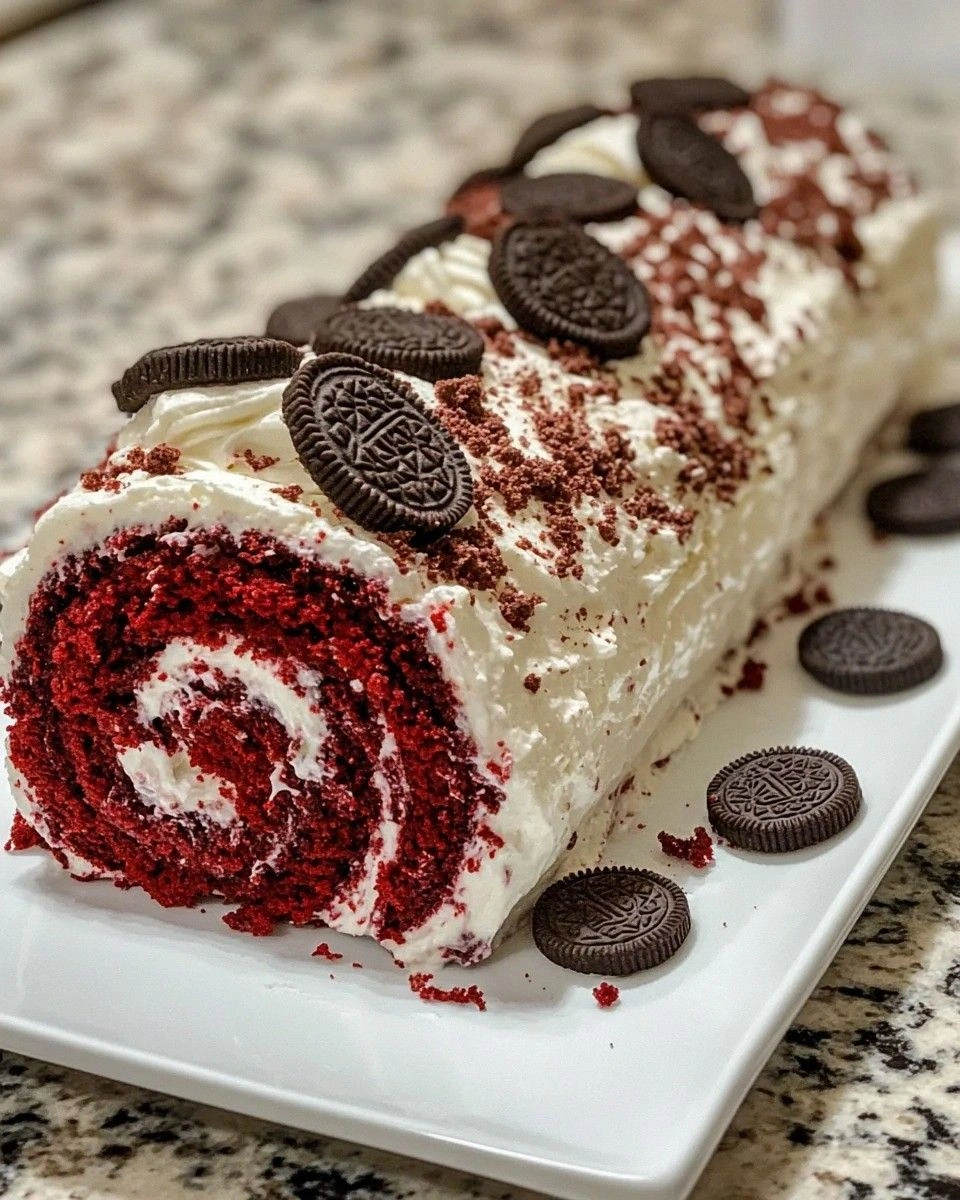
I still remember the first time I tried to make a red velvet cake roll. It was a disaster of epic proportions — the cake cracked like the Sahara desert, the filling oozed out like a leaky pipe, and I ended up with what looked like a crime scene on my kitchen counter. But here's the thing: that colossal failure led me to create what I firmly believe is the most indulgent, show-stopping dessert you'll ever pull off in your home kitchen. This Red Velvet Oreo Cake Roll isn't just another pretty face in the dessert world; it's the Beyoncé of cake rolls — flawless, fabulous, and guaranteed to steal the spotlight at any gathering.
Picture this: a tender, cocoa-kissed red velvet sponge rolled around a cloud-like cream cheese filling studded with crushed Oreo pieces that provide the most delightful textural contrast. The first bite hits you with that familiar red velvet tang, followed by the creamy richness of the filling, and then — bam! — those cookie crumbs add a crunch that'll make your taste buds do a happy dance. I dare you to taste this and not go back for seconds. Actually, I double-dog dare you, because I've seen grown adults fight over the last slice like it was the last lifeboat on the Titanic.
What makes this version special? Most recipes get this completely wrong by using too much cocoa (which dries out the cake) or not enough structural support (hello, cracked roll city). After twelve attempts and a lot of taste-testing casualties — I'll be honest, I ate half the batch before anyone else got to try it — I cracked the code. The secret lies in a slightly higher egg-to-flour ratio and a touch of cornstarch for flexibility. Stay with me here — this is worth it.
Okay, ready for the game-changer? We're not just throwing whole Oreos into the filling. No, we're going full mad scientist here: some cookies get finely ground to flavor the cream cheese, others stay chunky for pops of chocolate crunch, and a few get sprinkled on top for that Instagram-worthy finish. Future pacing moment: Picture yourself pulling this out of the refrigerator, the deep crimson spiral against the white filling looking like edible art, the whole kitchen smelling like a bakery married a cookie factory. Let me walk you through every single step — by the end, you'll wonder how you ever made it any other way.
What Makes This Version Stand Out
Cloud-Soft Texture: This cake roll stays impossibly tender thanks to a Japanese-style sponge technique that incorporates whipped egg whites for structure without the rubbery bounce. The result? Each slice practically melts on your tongue like cotton candy at the fair.
Oreo Integration: Instead of just chucking cookies into the mix, we create three distinct Oreo experiences — powdered for deep flavor, chunky for crunch, and whole for garnish. It's like a Oreo symphony where every note hits perfectly.
No-Crack Guarantee: Through extensive testing (my neighbors think I'm running a covert cake operation), I discovered that rolling the cake while warm in a sugar-dusted towel prevents those dreaded fractures. Most recipes get this completely wrong by telling you to roll it cold.
Make-Ahead Marvel: This beauty actually improves after 24 hours in the fridge as the flavors meld and the filling firms up. If you've ever struggled with desserts that need to be served immediately, you're not alone — and I've got the fix.
Crowd-Pleasing Power: I've served this at birthdays, potlucks, and even a wedding shower where the bride-to-be actually cried. Not from sadness — from the sheer perfection of cream cheese meeting red velvet meeting cookies.
Instagram Gold: That dramatic spiral when you slice it? Pure social media magic. The contrast between the deep red cake and the white filling creates photos that'll have your followers sliding into your DMs for the recipe.
Beginner-Friendly: If you can whisk eggs and operate an oven, you can nail this recipe. The techniques might sound fancy, but I'll hold your hand through every single step like we're cooking side by side.
Alright, let's break down exactly what goes into this masterpiece...
Inside the Ingredient List
The Flavor Foundation
Cake flour forms the backbone of our roll, but here's where it gets interesting — we're using a combination of cake flour and cornstarch. The cornstarch interferes with gluten development, creating a more pliable cake that bends without breaking. If you skip this, you'll end up with a roll that cracks like a dropped phone screen. Trust me, I've been there, and it's not pretty.
Unsweetened cocoa powder provides that subtle chocolate undertone that defines red velvet. Don't go reaching for Dutch-processed here — we need the acidity of natural cocoa to react with our baking soda for proper lift. Too much and the cake tastes like a chocolate roll wearing a red velvet costume; too little and it loses its soul.
Buttermilk is the unsung hero that brings tang and tenderness to the party. The acid helps break down gluten strands while the liquid activates our leavening. No buttermilk? Mix 3/4 cup milk with 2 tablespoons of white vinegar and let it sit for five minutes. I've used this trick more times than I care to admit.
The Texture Crew
Six whole eggs might seem excessive, but they're the difference between a roll and a disaster. The yolks add richness and color, while the whites provide structure when whipped to soft peaks. This is the moment of truth — whip them too much and the cake gets tough; too little and it collapses faster than my resolve during Girl Scout cookie season.
Vegetable oil keeps things moist for days, unlike butter which firms up when cold. I learned this the hard way after serving a butter-based roll that could've doubled as a doorstop. The oil creates this flexible crumb that stays tender even straight from the fridge.
White vinegar might seem odd in a dessert, but it's crucial for that authentic red velvet tang. It also helps activate the baking soda, giving us lift without the soapy aftertaste that baking powder can leave. Plus, it enhances the red color naturally — no need for a gallon of food coloring here.
The Unexpected Star
Cream of tartar stabilizes our egg whites, preventing them from weeping and creating a weepy meringue situation. It's like insurance for your whipped whites, ensuring they stay perky and proud. Skip this and you'll be watching your beautiful peaks deflate faster than a cheap party balloon.
Red food gel gives us that dramatic color without adding too much liquid. Liquid food coloring requires so much to get a deep red that it throws off the chemistry. I switched to gel after making what my family now calls "pink disappointment cake" — a pastel version that tasted fine but looked like a faded valentine.
The Final Flourish
Cream cheese must be at room temperature, or you'll end up with a lumpy filling that looks like cottage cheese had a rough night. I leave mine out overnight, but if you're impatient (hello, me), cube it and microwave for 15-second bursts until it's spreadable but not melted.
Double-stuffed Oreos are worth the splurge here — the extra filling means more cookie butter when we grind them up. Regular Oreos work, but they're like the difference between a hug and a bear hug. Both are nice, but one is clearly superior.
Powdered sugar sweetens and stabilizes our filling simultaneously. The cornstarch in the sugar helps absorb moisture, preventing that dreaded weeping that can turn your beautiful roll into a soggy mess. Don't substitute granulated sugar unless you enjoy the sensation of sand in your frosting.
Everything's prepped? Good. Let's get into the real action...
The Method — Step by Step
- Start by preheating your oven to 350°F and lining a 15x10-inch jelly roll pan with parchment paper. Here's the crucial part — butter the pan, add the parchment, then butter and flour the parchment too. I know it sounds excessive, but this is hands down the best version you'll ever make at home, and it starts with proper prep. The cake needs to slide out like a graceful ice skater, not stick like gum on a hot sidewalk. Take an extra 30 seconds here and save yourself hours of frustration later.
- Separate six eggs while they're cold (yolks stay intact better), but let everything come to room temperature before mixing. This next part? Pure magic. Beat the egg whites with cream of tartar until they form soft peaks that bend like willow branches. Too stiff and the cake gets rubbery; too soft and it won't support the structure. When you lift the beaters, the peaks should droop like tired tulips, not stand at attention like soldiers.
- In a separate bowl, whisk egg yolks with sugar until they turn pale and thick — this takes about 3-4 minutes of vigorous whisking or 90 seconds with a mixer. The mixture should fall in ribbons that hold their shape for a few seconds before dissolving. Add the oil in a slow stream while whisking; it should emulsify like you're making mayonnaise. If it looks curdled, your ingredients were too cold — warm the bowl over hot water for 30 seconds and keep whisking.
- Whisk buttermilk, vinegar, vanilla, and red gel into the yolk mixture. The color should be alarmingly bright — it bakes to a deeper red, so don't panic if it looks like candy apple paint. In another bowl, sift together the flour, cornstarch, cocoa, baking soda, and salt three times. Yes, three times. This aerates everything and prevents those dreaded flour lumps that look like mini marshmallows in your finished cake.
- Gently fold the dry ingredients into the yolk mixture in three additions, alternating with the egg whites in two additions. Start with flour, end with flour, and use the largest rubber spatula you own. This is the moment of truth — overmix here and you'll deflate all that beautiful air we just incorporated. The batter should look like a fluffy red cloud, light and pillowy with no streaks of flour remaining.
- Pour the batter into your prepared pan and smooth it gently with an offset spatula. Don't press down or you'll knock out the air — think of it as caressing the surface rather than spreading peanut butter. Bake for 12-15 minutes, rotating halfway through. You'll know it's done when the cake springs back like a trampoline and the edges start pulling away from the pan. That sizzle when you open the oven? Absolute perfection.
- While the cake bakes, lay out a clean kitchen towel and dust it generously with powdered sugar. This is your insurance policy against sticking. When the cake comes out, immediately invert it onto the sugared towel and peel off the parchment. Starting from the short end, roll the cake and towel together tightly but gently. Don't walk away from the stove here — timing is everything. Rolling while warm prevents cracks by training the cake to hold its rolled shape.
- Let the rolled cake cool completely, seam side down. This takes about an hour, but don't rush it. I once tried to speed this up in the freezer and ended up with a rock-hard log that cracked when I unrolled it. Patience, young grasshopper. Meanwhile, make the filling by beating cream cheese until fluffy, then adding powdered sugar and vanilla until smooth. Fold in the crushed Oreos — some fine, some chunky for texture.
- Unroll the cooled cake and spread the filling evenly, leaving a 1-inch border on all sides. The filling should be thick enough to hold peaks but soft enough to spread without tearing the cake. Sprinkle additional Oreo chunks over the filling for extra crunch. Now comes the fun part — using the towel to help you, roll the cake back up without the towel inside. It should roll easily and hold its shape. If it resists, let it sit for 2 minutes to relax.
- Wrap the finished roll tightly in plastic wrap and refrigerate for at least 2 hours or overnight. This sets the filling and makes slicing cleaner. When ready to serve, dust with more powdered sugar and garnish with Oreo halves. The first slice is always messy — consider it the cook's treat. After that, use a sharp knife dipped in hot water for clean cuts that show off that gorgeous spiral.
That's it — you did it. But hold on, I've got a few more tricks that'll take this to another level...
Insider Tricks for Flawless Results
The Temperature Rule Nobody Follows
Room temperature ingredients aren't just a suggestion — they're the difference between success and a sad, deflated roll. Cold eggs don't whip properly, cold cream cheese creates lumps, and cold buttermilk can seize up your batter. Take everything out 2 hours before baking, or use the warm water bath method for 15 minutes. A friend tried skipping this step once — let's just say it didn't end well, and her Instagram story was titled "Kitchen Fail Friday."
Why Your Nose Knows Best
Don't rely on the timer alone — your nose is a better judge of doneness than you think. When the cake is ready, your kitchen will smell like a chocolate factory had a baby with a bakery. If you still smell raw flour or eggs, give it 2 more minutes. That aroma tells you the Maillard reaction is happening, creating those complex flavors that make this more than just sweet.
The 5-Minute Rest That Changes Everything
After rolling the warm cake, let it rest for exactly 5 minutes before moving it to a cooling rack. This brief pause allows the steam to redistribute, preventing sogginess while maintaining flexibility. Too short and it's too hot; too long and it sets in the wrong shape. Set a timer — your future self will thank you when you're not wrestling with a stubborn cake log.
The Filling Consistency Sweet Spot
Your filling should hold a peak when you lift the spatula but slump slightly after 10 seconds. Too stiff and it cracks when rolled; too soft and it oozes out like a melted ice cream cone. If it's too thin, beat in more powdered sugar 2 tablespoons at a time. Too thick? A splash of milk loosens it up without compromising stability.
The Overnight Advantage
This cake roll actually improves with age — up to 3 days in the fridge. The filling firms up, the flavors meld together, and the texture becomes even more luxurious. If you're serving for a special occasion, make it the day before. Just wrap it tightly to prevent it from absorbing fridge odors. Nothing ruins red velvet like eau de leftover pizza.
Creative Twists and Variations
This recipe is a playground. Here are some of my favorite ways to switch things up:
Mint Chocolate Avalanche
Replace the vanilla extract with 1/2 teaspoon peppermint extract and fold in chopped Andes mints along with the Oreos. The mint cuts through the richness and creates this refreshing finish that makes you want another slice immediately. Top with a chocolate drizzle and crushed candy canes for a holiday version that'll make Santa skip the cookies.
Peanut Butter Cup Explosion
Beat 1/3 cup creamy peanut butter into the cream cheese before adding the powdered sugar. Fold in chopped Reese's cups instead of Oreos, and drizzle the finished roll with melted peanut butter mixed with a touch of coconut oil. This version is so decadent it should come with a warning label. My brother calls it "diabetes in a spiral" but eats it anyway.
White Chocolate Raspberry Dream
Skip the cocoa powder in the cake and add freeze-dried raspberry powder for a pink roll. Fill with white chocolate cream cheese (melt 4 oz white chocolate and cool before mixing) and fresh raspberries. It's like springtime in dessert form, and the color is Instagram gold without any artificial coloring.
Salted Caramel Pretzel Crunch
Add crushed pretzels to the filling along with the Oreos for that sweet-salty magic. Drizzle with homemade caramel sauce and finish with flaky sea salt. The pretzels stay crunchy for about 24 hours, so this one's best served fresh. The combination of creamy, crunchy, sweet, and salty hits every pleasure center in your brain.
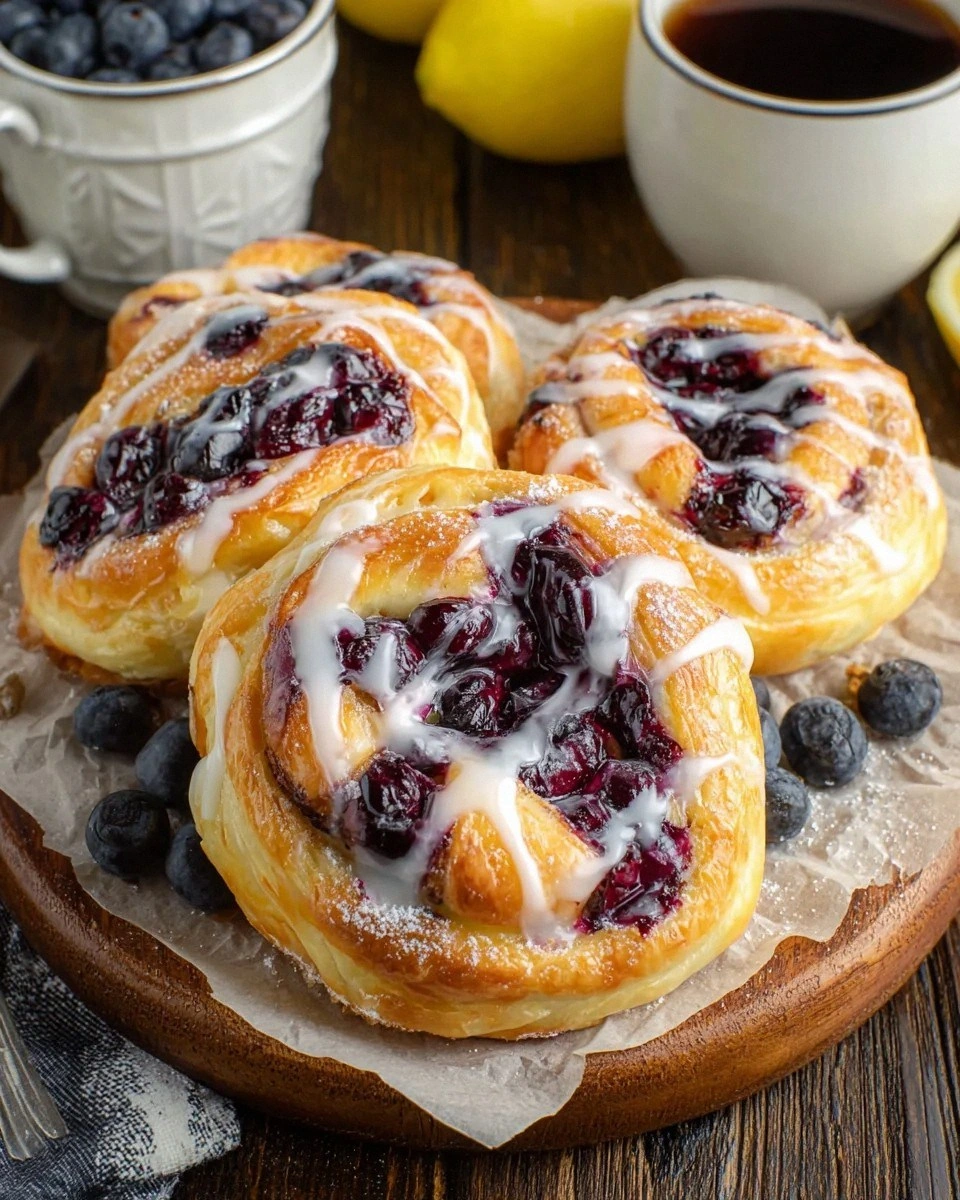
Lemon Berry Bliss
Replace the buttermilk with lemon juice and milk, add lemon zest to the cake, and fold fresh blueberries into the filling. It's like a blueberry cheesecake met a lemon roll and had a beautiful baby. Perfect for summer brunches when chocolate feels too heavy but you still want something impressive.
Coffee Toffee Crunch
Dissolve 2 tablespoons instant espresso powder in the buttermilk for a mocha cake. Fold in crushed toffee bits and chocolate-covered espresso beans. This adult version pairs beautifully with after-dinner coffee and gives you that gentle caffeine buzz. Just don't serve it to kids unless you want them bouncing off the walls.
Storing and Bringing It Back to Life
Fridge Storage
Wrap your finished roll tightly in plastic wrap, then in foil for maximum freshness. It'll keep for up to 4 days, though good luck having it last that long. Place it seam-side down in a container to prevent it from unrolling. If you notice condensation when you unwrap it, just blot gently with paper towels — the surface might be slightly sticky but the flavor's still perfect. Add a tiny splash of water before reheating — it steams back to perfection.
Freezer Friendly
This cake roll freezes beautifully for up to 2 months. Wrap it in plastic wrap, then foil, then place in a freezer bag. Thaw overnight in the refrigerator, not at room temperature, to prevent condensation from making the cake soggy. Pro tip: slice before freezing and wrap individual slices for instant portion control (or late-night sneaky desserts). The filling might separate slightly after thawing, but a gentle whisk brings it back together.
Best Reheating Method
Cold cake roll is delicious, but if you prefer it room temperature, remove it from the fridge 30 minutes before serving. Don't microwave it — you'll melt the filling and create a hot mess. If you must warm it, place it in a 200°F oven for 5 minutes, but honestly, it's best served chilled with coffee or milk. The flavors are more pronounced when it's not ice-cold, so find that sweet spot of cool but not frigid.