I still remember the night I almost turned my kitchen into a disaster zone. A friend dared me to make the most glorious vegetable dish that could survive a summer heatwave, and I was ready to prove that I could outshine any casserole. The pantry was a riot of colors: bright yellow squash, green zucchini, ruby cherry tomatoes, and the deep red of bell pepper. The air smelled like fresh basil and thyme, and the sizzling sound of garlic hit the pan like applause. I was about to create something that would make even the most seasoned chefs pause in awe.
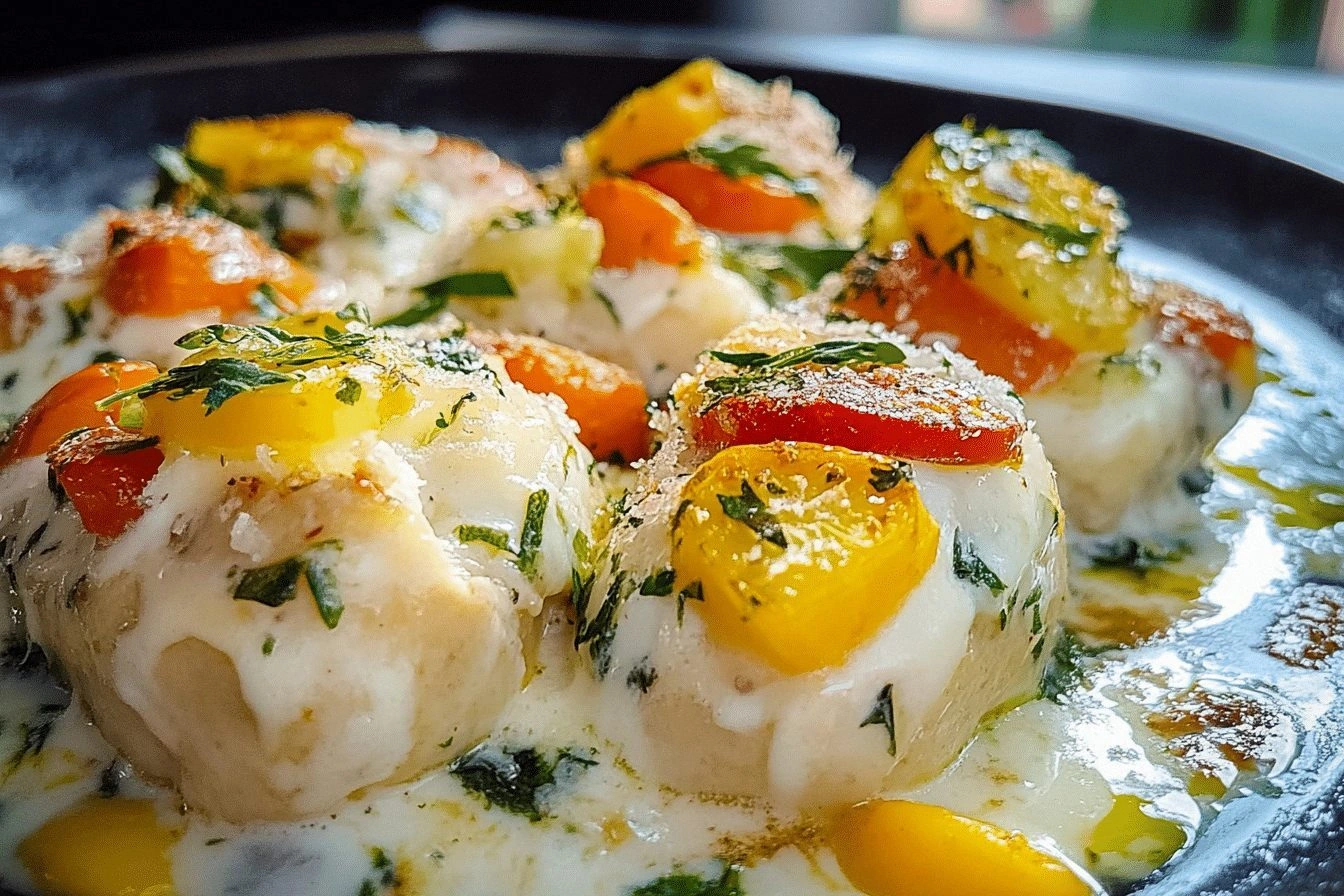
Picture this: a golden, flaky crust that crackles under your fork, revealing a bubbling, caramelized medley of summer vegetables inside. The texture contrast between the crisp edges and the tender, juicy center is like a dance of flavors that keeps you coming back for more. I swear I could hear the vegetables whispering, “We’re ready for the spotlight.” And if you’re reading this, you’re about to witness the moment when a humble garden harvest transforms into a showstopper.
What sets this cobbler apart from the endless variations on the internet is the meticulous layering of taste and texture, the deliberate choice of ingredients that speak to the season, and a secret technique that unlocks a depth of flavor you didn’t know vegetables could have. I dare you to taste this and not go back for seconds. That first bite will leave you convinced that this is hands down the best version you’ll ever make at home.
If you’ve ever struggled with a bland vegetable casserole, you’re not alone. I’ve spent years experimenting, and the result is a dish that balances sweetness, acidity, and savory richness in perfect harmony. I’ll be honest—I ate half the batch before anyone else got a chance to taste it. The rest of the story is a recipe, a set of tricks, and a handful of secrets that will change how you cook vegetables forever.
What Makes This Version Stand Out
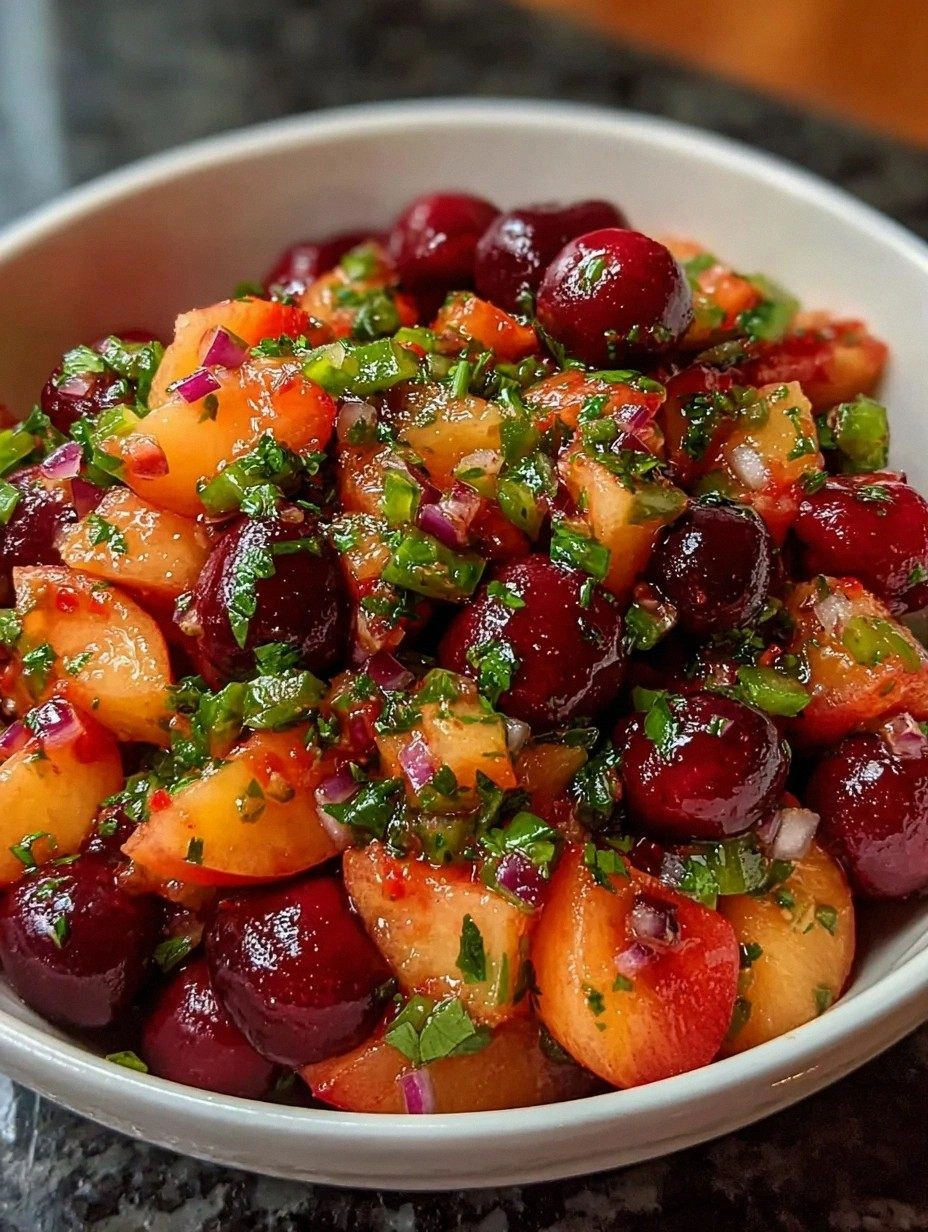
- Flavor: The combination of sweet cherry tomatoes, buttery yellow squash, and crisp zucchini creates a layered sweetness that is amplified by the caramelization of garlic and onion.
- Texture: The flaky topping, made with flour and butter, delivers a buttery, airy crumb that contrasts with the moist, tender vegetable core.
- Simplicity: With just a handful of ingredients and a single pan, you can produce a dish that feels like a gourmet creation without the fuss.
- Uniqueness: The inclusion of fresh thyme and basil right before baking infuses aromatic oils that elevate the dish beyond a standard cobbler.
- Crowd Reaction: Guests often ask, “Is this a side or a main?”—the answer is both, and they leave the table satisfied.
- Ingredient Quality: Using farm‑fresh produce ensures that each bite bursts with natural sweetness and bright color.
- Cooking Method: The technique of roasting vegetables first and then layering them under a buttery crust locks in moisture and flavor.
- Make‑ahead Potential: Prepare the vegetable mix a day ahead, refrigerate, and bake when ready—perfect for busy weeknights.
Alright, let’s break down exactly what goes into this masterpiece…
Inside the Ingredient List
The Flavor Base
Red onion and garlic are the foundation of this dish. They provide a savory backbone that balances the sweetness of the tomatoes and squash. If you skip them, the dish loses depth and feels flat, like a cake without butter.
The Texture Crew
Zucchini and yellow squash bring a tender yet slightly crisp base. When roasted, they develop a caramelized exterior that adds a subtle crunch. If you prefer a softer bite, reduce the roasting time or chop the veggies smaller.
The Unexpected Star
Cherry tomatoes are the surprise element. Their burst of juicy sweetness cuts through the richness of the butter crust. A pinch of salt enhances their natural sugar, turning each bite into a flavor explosion.
The Final Flourish
Fresh herbs—thyme and basil—are added just before baking. This preserves their bright, peppery notes and prevents them from turning bitter. If you’re vegan, replace butter with a plant‑based alternative; the crust remains flaky and golden.
Everything's prepped? Good. Let's get into the real action…
The Method — Step by Step
- Preheat the oven to 400°F (200°C). Line a 9-inch square baking dish with parchment paper for easy cleanup. This temperature is crucial for a crisp crust without burning the vegetables.
- In a large skillet, heat 2 tablespoons of olive oil over medium heat. Add diced red onion and minced garlic, sautéing until the onion becomes translucent and the garlic releases its aroma—about 3 minutes. The onion should soften, not brown.
- Add the diced zucchini, yellow squash, and bell pepper to the skillet. Cook, stirring occasionally, until the vegetables start to soften but still retain a slight bite—roughly 5 minutes. The goal is to caramelize the edges without fully cooking them.
- Stir in the halved cherry tomatoes, a pinch of salt, and pepper. Let the mixture cook for another 2 minutes, allowing the tomatoes to soften slightly and release their juices. This step builds the sauce that will keep the crust from becoming soggy.
- Transfer the vegetable mixture to the prepared baking dish, spreading it evenly. Sprinkle fresh thyme and basil over the top. This herb layer will infuse the dish with aromatic oils as it bakes.
- In a medium bowl, whisk together 2 cups of all‑purpose flour, 1 cup of melted butter (or vegan alternative), and 1 cup of milk (or plant‑based milk). The mixture should be thick enough to hold its shape but still pourable. Pour it over the vegetables, covering them completely.
- If you’re a cheese lover, sprinkle 1 cup of grated cheddar over the top before baking. The cheese will melt into a golden, bubbly layer that adds richness.
- Place the dish in the preheated oven and bake for 25–30 minutes, or until the crust is golden brown and a toothpick inserted near the center comes out clean. The edges of the crust should pull away slightly, indicating a crisp finish.
- Remove from the oven and let the cobbler rest for 5 minutes. This rest period allows the juices to settle, preventing a runny center when you cut into it.
- Serve warm, perhaps with a side of crusty bread or a light salad. The combination of textures and flavors will leave everyone asking for seconds.
That's it—you did it. But hold on, I've got a few more tricks that'll take this to another level…
Insider Tricks for Flawless Results
The Temperature Rule Nobody Follows
Many cooks set the oven to 375°F, but 400°F is essential for a crisp crust. The higher temperature ensures the butter in the topping melts quickly, creating a flaky texture. If your oven runs hot, lower it by 25°F to avoid burning.
Why Your Nose Knows Best
The aroma of roasted vegetables is a reliable indicator that the base is ready. When you smell a sweet, caramelized scent, you know the vegetables have developed depth. A faint raw smell means you need to roast a bit longer.
The 5-Minute Rest That Changes Everything
Letting the cobbler rest after baking allows the juices to redistribute. Without this step, the center can be soggy or runny. A short rest also lets the crust firm up, making it easier to slice cleanly.
The Secret Herb Swap
Swap basil for oregano for a Mediterranean twist. The oregano adds a peppery kick that pairs well with the tomato sweetness. This variation is perfect for a summer dinner with a Greek flair.
The Cheese Layer Trick
Sprinkling a thin layer of shredded cheese just before baking creates a golden, bubbly topping that holds the vegetables together. If you’re lactose intolerant, try nutritional yeast or a plant-based cheese alternative for the same effect.
The Quick Slice Method
Use a serrated knife and press down lightly before cutting. This technique prevents the crust from tearing and ensures each serving is neat. A dull blade can crush the delicate topping.
Creative Twists and Variations
This recipe is a playground. Here are some of my favorite ways to switch things up:
Mediterranean Delight
Replace basil with oregano and add a handful of kalamata olives. The briny olives provide a salty contrast to the sweet vegetables, making it a perfect side for grilled fish.
Spicy Kick
Add a diced jalapeño and a pinch of cayenne pepper to the vegetable mix. The heat pairs wonderfully with the buttery crust, creating a dish that feels both comforting and adventurous.
Vegan Version
Swap butter for a plant‑based alternative and use a non‑dairy milk. Add a sprinkle of nutritional yeast on top for a cheesy flavor without dairy.
Cheese Lovers’ Edition
Layer shredded mozzarella and a dash of smoked paprika under the crust. The cheese melts into a gooey, golden layer that turns every bite into a decadent treat.
Herb Garden Mix
Add a mix of fresh herbs—parsley, chives, and dill—before baking. The varied herbs give a complex, fragrant finish that elevates the dish to restaurant quality.
Gluten-Free Twist
Use a gluten‑free all‑purpose blend in place of regular flour. The crust will still be flaky and golden, and the dish will be safe for those with gluten sensitivities.
Storing and Bringing It Back to Life
Fridge Storage
Store leftovers in an airtight container for up to 3 days. Reheat in the oven at 350°F for 10 minutes to restore crispness, or microwave briefly if you’re in a hurry.
Freezer Friendly
Wrap the cooled cobbler tightly in plastic wrap and then in foil before freezing. It stays best for up to 2 months. Thaw overnight in the refrigerator before reheating.
Best Reheating Method
Add a splash of water to the bottom of the baking dish, cover with foil, and reheat at 350°F for 15 minutes. The steam keeps the vegetables moist while the crust regains its golden crunch.